
Let's assume you got a couple of pictures you need to resize. Because they're too big for upload, not optimized for your website or for whatever other reason.
Of course you could open each picture with Gimp, Photoshop or another image editing software and resize/scale one by one. But some tools are very costly (Photoshop for example, although there are some sites where you can buy Adobe Photoshop for a discounted price), some tools (such as Inkscape) are difficult to handle for non-professionals. It doesn't really matter what image editing software you chose, it takes a long time to open each picture, resize it and then save it. Do you want to go down this road?
Or do you want to try something else and use the command line to do all that automated within seconds?
ImageMagick is an awesome graphic manipulation software which can be run on the command line. It is already part of the default repositories of most Linux distributions. On Debian and Ubuntu the installation is as easy as:
$ sudo apt-get install imagemagick
The command used in the background by ImageMagick is convert. This command let's you do all kind of image manipulations on the command line, such as image rotation on the command line, creating animated GIF on the command line, many more - and, of course, image resizing (using the -resize parameter).
ImageMagick's convert handles wildcards (*.JPG) different than one would expect. It would create a new picture instead of overwriting the original - which can also work or may even be preferred in some cases. But if you simply want the files to be resized and overwritten, the best way to do that is by looping through the list of pictures.
We can use *.JPG (file extension in this situation) to run through each picture. The following for loop handles each picture, shows the size before resizing, resizes the pictures (scales it down to 50%) and shows the final image byte size:
ckadm@mintp /tmp/pictures $ for picture in *.JPG; do echo "Byte Size of $picture before resize: $(du -h $picture)"; convert -resize 50% $picture $picture; echo "Byte Size of $picture after resize: $(du -h $picture)"; done
Byte Size of IMG_8408.JPG before resize: 3.5M IMG_8408.JPG
Byte Size of IMG_8408.JPG after resize: 1.2M IMG_8408.JPG
Byte Size of IMG_8409.JPG before resize: 2.5M IMG_8409.JPG
Byte Size of IMG_8409.JPG after resize: 820K IMG_8409.JPG
Byte Size of IMG_8410.JPG before resize: 2.7M IMG_8410.JPG
Byte Size of IMG_8410.JPG after resize: 936K IMG_8410.JPG
Byte Size of IMG_8411.JPG before resize: 2.8M IMG_8411.JPG
Byte Size of IMG_8411.JPG after resize: 948K IMG_8411.JPG
Byte Size of IMG_8412.JPG before resize: 3.2M IMG_8412.JPG
Byte Size of IMG_8412.JPG after resize: 1.1M IMG_8412.JPG
Byte Size of IMG_8413.JPG before resize: 3.3M IMG_8413.JPG
Byte Size of IMG_8413.JPG after resize: 1.1M IMG_8413.JPG
Byte Size of IMG_8414.JPG before resize: 4.0M IMG_8414.JPG
Byte Size of IMG_8414.JPG after resize: 1.4M IMG_8414.JPG
Byte Size of IMG_8415.JPG before resize: 3.4M IMG_8415.JPG
Byte Size of IMG_8415.JPG after resize: 1.2M IMG_8415.JPG
This took roughly 2 seconds. That's definitely much faster than opening an image editing software and opening+resize each picture!
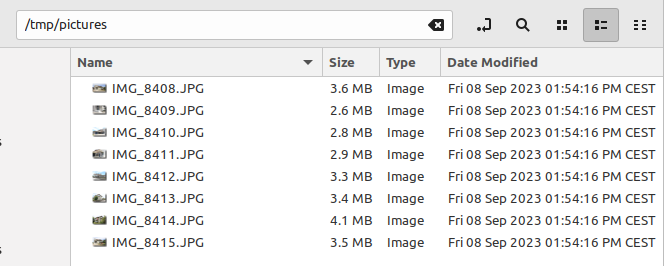
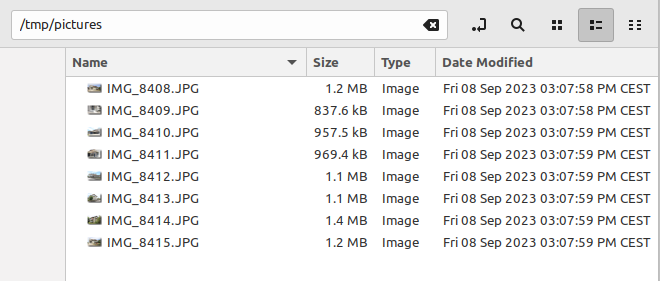
Of course you can spot the new size in the file explorer, too:
The previous example showed a simple resize of each picture of 50%. But you can also define a fixed size by specifying width and height (in pixels).
The following example resizes the picture "image.jpg" to the exact measurements of 2200 (width) x 1650 (height) pixels:
ckadm@mintp /tmp/pictures $ convert -resize 2200x1650 image.jpg image.jpg
However this only works when all the pictures have the same dimensions. If you mix horizontally and vertically taken photos, the result will be pretty ugly for the vertical pictures. In such a case, just add the wanted width of the target picture:
ckadm@mintp /tmp/pictures $ convert -resize 2200 image.jpg image.jpg
All the selected pictures (here only one picture, use the for loop mentioned above for a bunch of pictures) are now resized to a width of 2200 pixels - and are keeping their aspect ratio.
No comments yet.

AWS Android Ansible Apache Apple Atlassian BSD Backup Bash Bluecoat CMS Chef Cloud Coding Consul Containers CouchDB DB DNS Database Databases Docker ELK Elasticsearch Filebeat FreeBSD Galera Git GlusterFS Grafana Graphics HAProxy HTML Hacks Hardware Icinga Icingaweb Icingaweb2 Influx Internet Java KVM Kibana Kodi Kubernetes LVM LXC Linux Logstash Mac Macintosh Mail MariaDB Minio MongoDB Monitoring Multimedia MySQL NFS Nagios Network Nginx OSSEC OTRS Office PGSQL PHP Perl Personal PostgreSQL Postgres PowerDNS Proxmox Proxy Python Rancher Rant Redis Roundcube SSL Samba Seafile Security Shell SmartOS Solaris Surveillance Systemd TLS Tomcat Ubuntu Unix VMWare VMware Varnish Virtualization Windows Wireless Wordpress Wyse ZFS Zoneminder