
When my Brother MFC 9330CDW started to print papers with embossing marks (with the shape of a corn plant - but that may just be my imagination) on it, something was definitely not printing as it should.
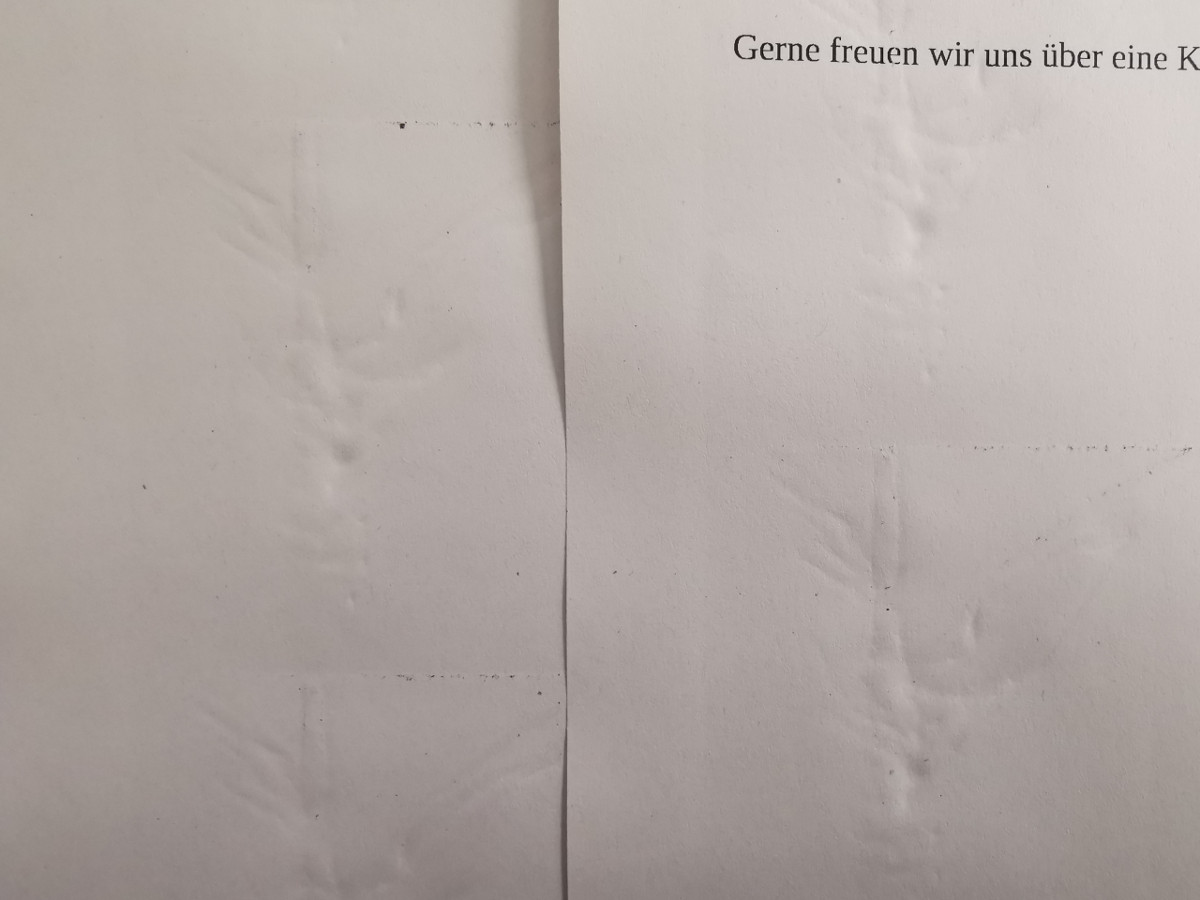
But what would cause these horizontally re-occurring marks?
I publicly asked this question on Twitter and received good comments. At the end it turned out to become a real-live streaming troubleshooting thread.
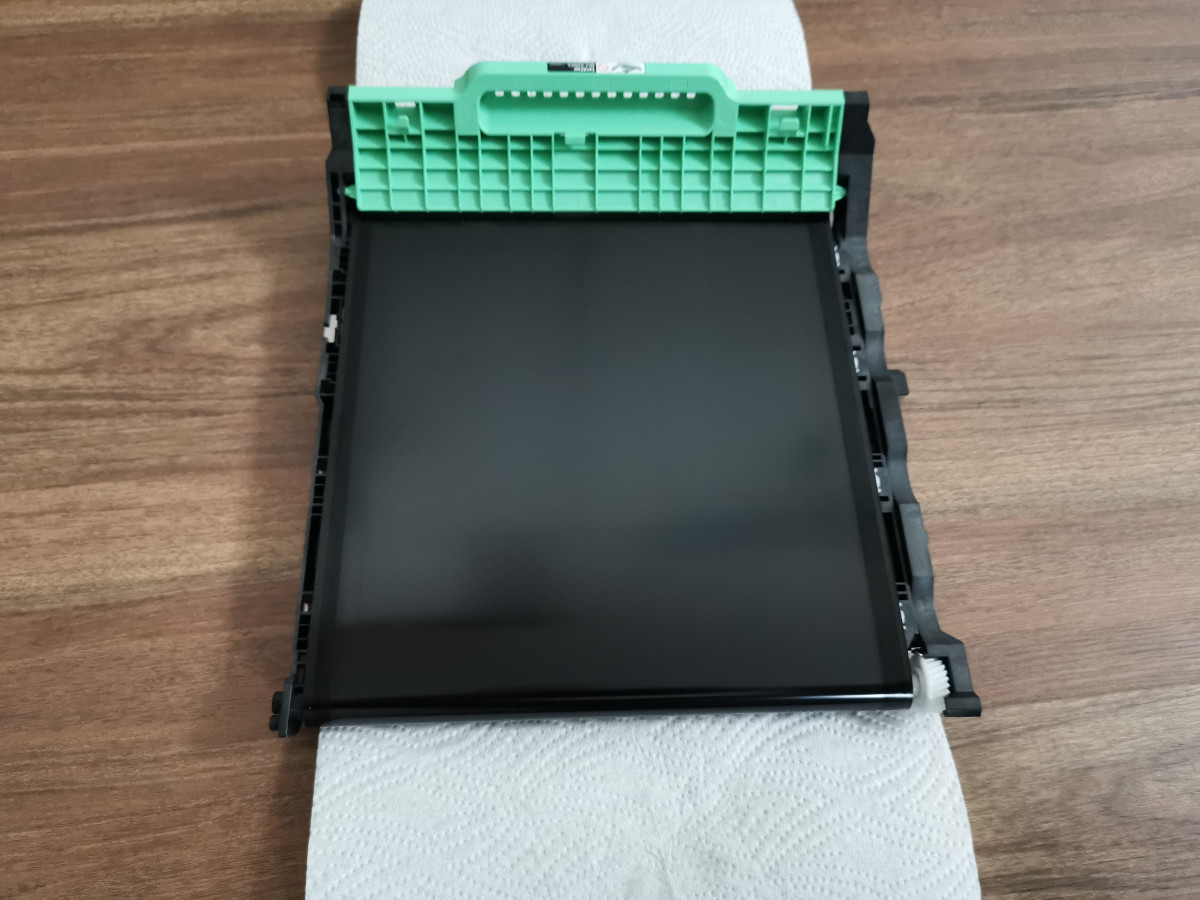
The first thought was that there is something sticking out or laying on the transfer belt. After removing the cartridge (toner) units, the transfer belt unit can be lifted off and taken out of the printer. Although used, the transfer belt had nothing on or in it, which would explain these marks:
Additionally to this, all toner/cartridges were checked that they correctly "snapped" into the drum units.
According to visual verification (and to comments on the mentioned Twitter thread) the problem must be elsewhere.
When I opened the back of the printer - this is where the fuser unit is placed - I immediately saw something which should not be there: Some broken-off pieces laying there next to the fuser roll.
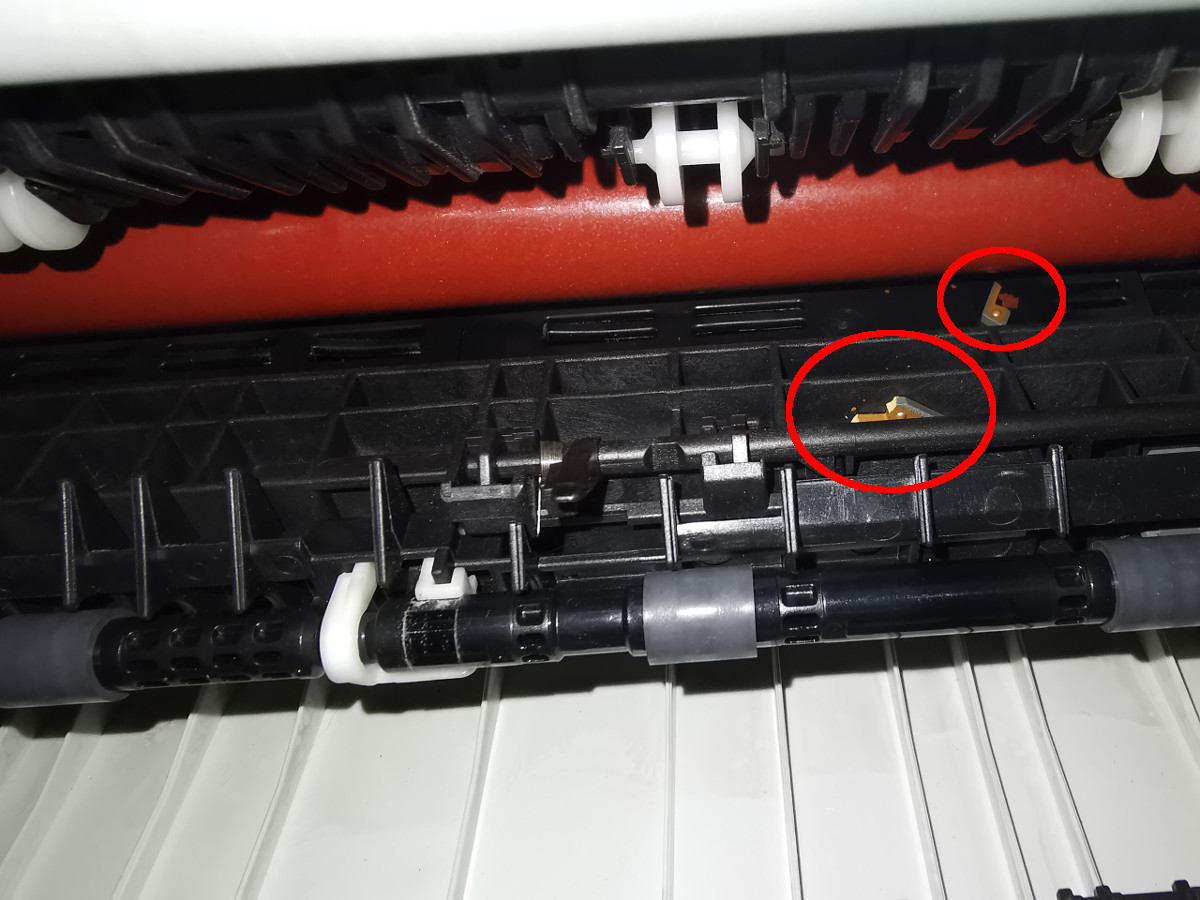
I removed these two pieces. But the question is: Where did these pieces come from? From what part did they break off? This is where my focus shifted towards the "inner" roll of the fuser, the roll in black:
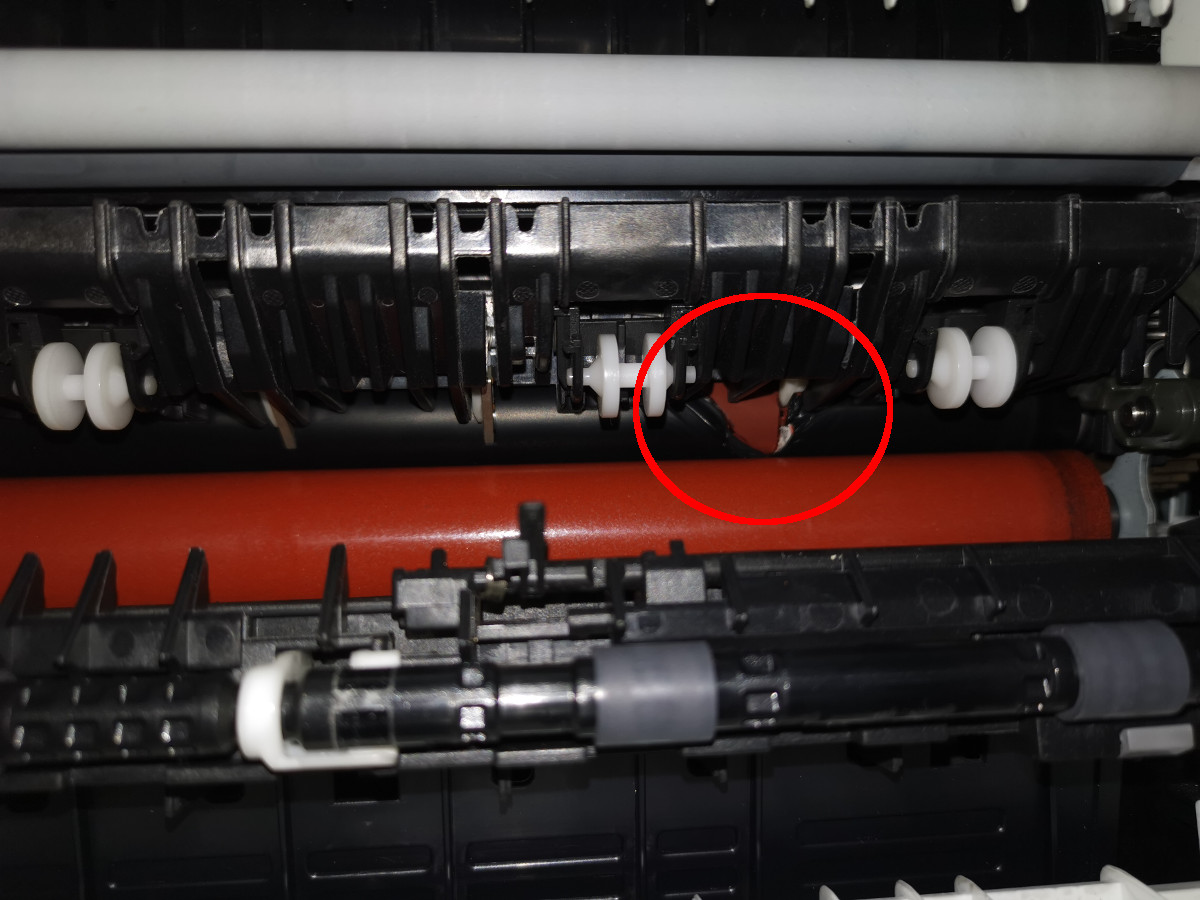
A look closer at the "shape" of this defect, seemed to confirm the "corn plant" on the printed pages. And due to the fact that this is a roll, the horizontal re-occurring "stamp" on the papers is explained, too.
A replacement for the fuser unit (Brother product ID LY6754001) was ordered for CHF 138 (USD 155 with todays FX rate) and I got it a day later (delivery times have certainly improved in the last decade!).
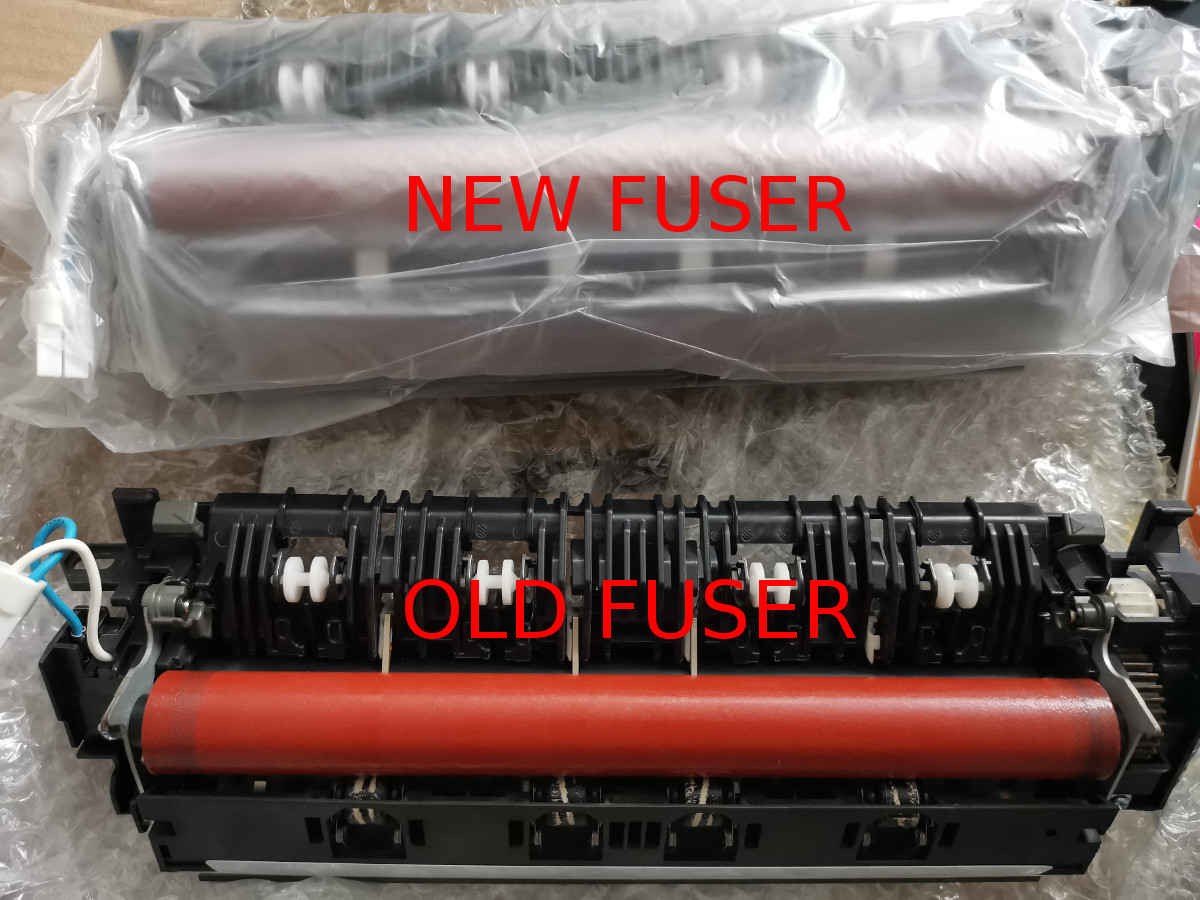
Next step: Replacing the fuser unit. Luckily there's a great video by Hermes Lara on Youtube which shows how to remove the fuser and place the new unit back into the printer. I strongly suggest to look at that video and do the replacement while watching it.
Note: The video is for the MFC 9340CDW, which is a bit newer than my MFC-9330CDW. But the pieces and the replacement methods are the same.
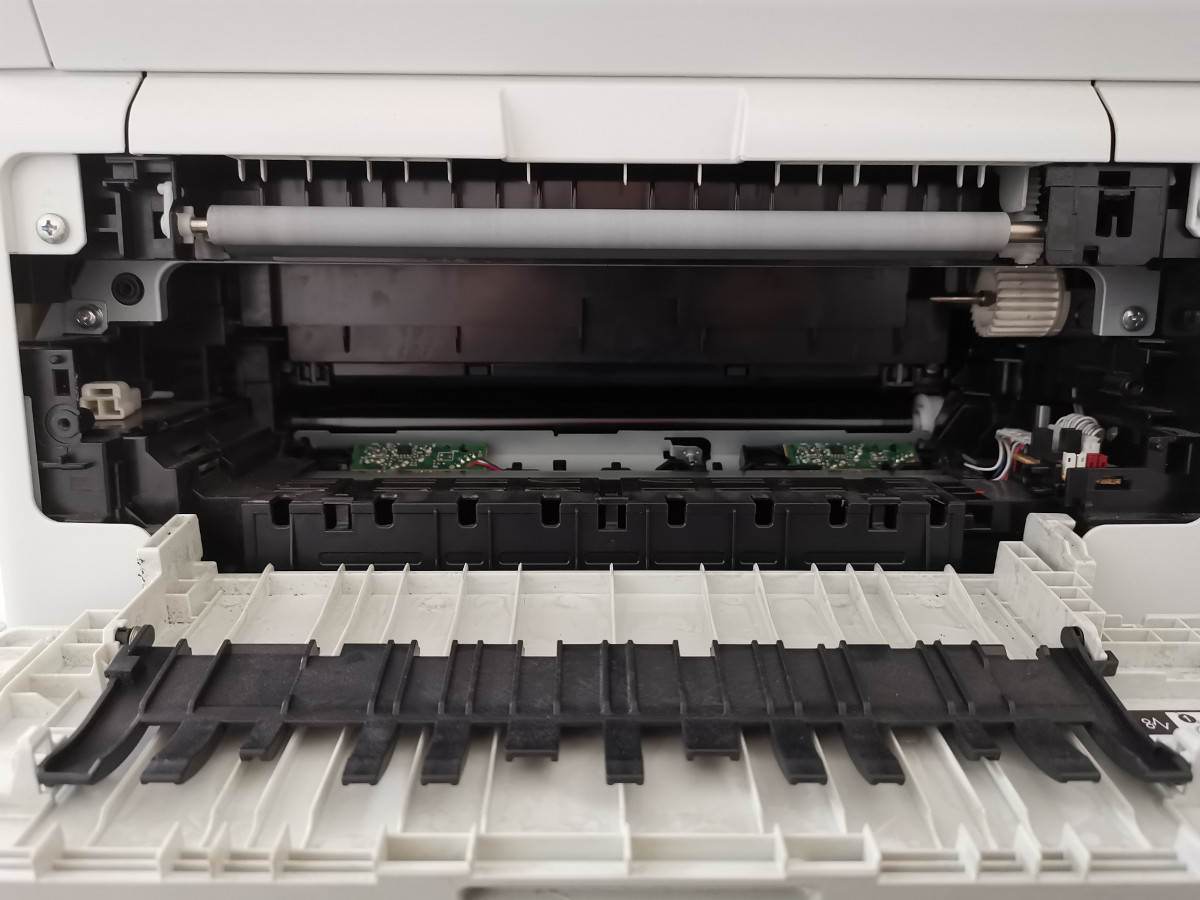
The printer without the fuser unit:
... and with the new fuser unit built in:
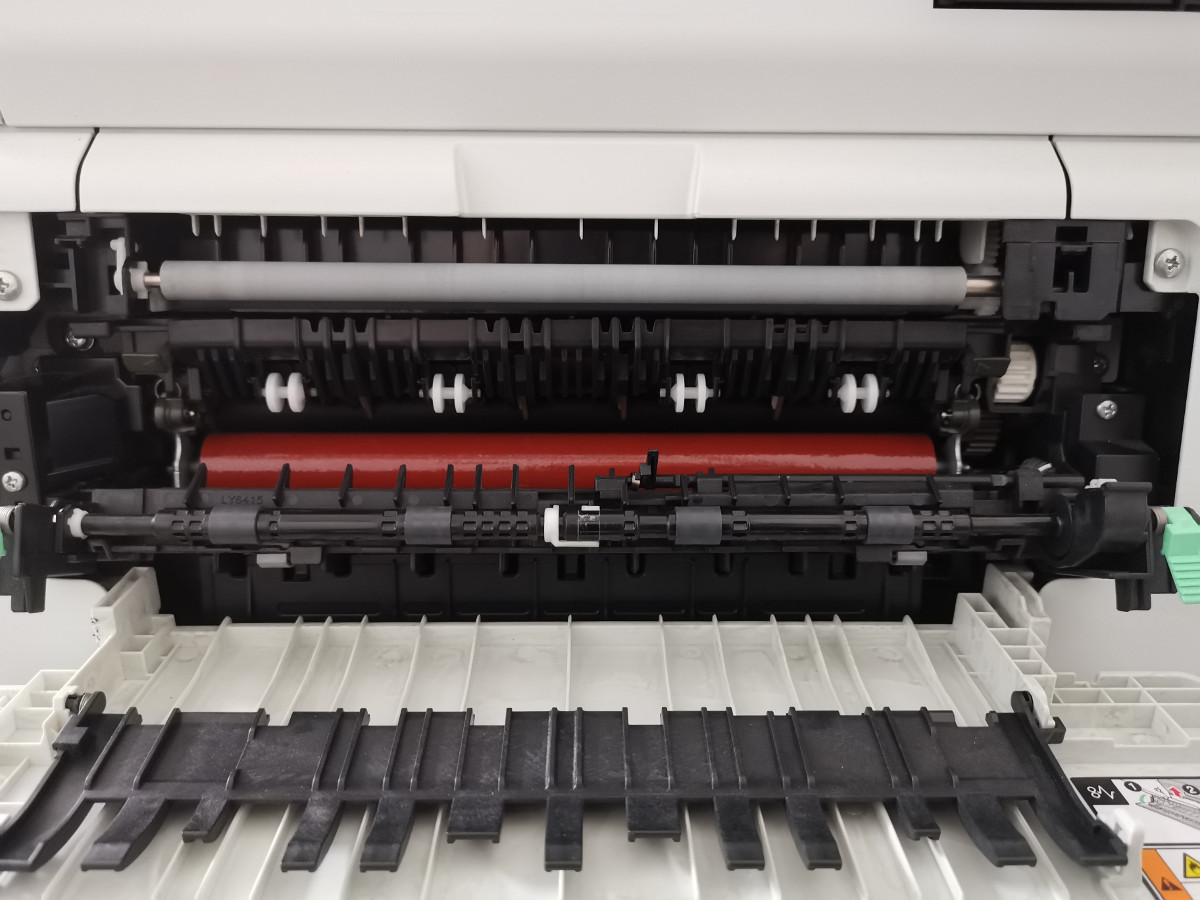
Right after this, the printed pages looked correctly again!
Besides the replacement fuser was a note: It is required to update the machine to the latest firmware after replacing the fuser unit. As I already did this in one of the first steps when I tried to figure out the reason for the marks, I didn't have to run a firmware update anymore. But as of this writing in January 2021, the newest firmware version is:
Main Firmware Version: ZA
Sub1 Firmware Version: 1.10
Sub2 Firmware Version: Q1811192000
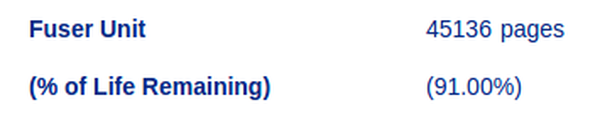
Now that the fuser was replaced, the printer still thinks the old fuser unit is in the printer. This can be verified by checking the maintenance info page on the printer's IP:
Use this procedure to reset the fuser counter:
I created and shared a video for this:
Jeremy from wrote on Jan 16th, 2022:
Hey thanks for posting this - I had the exact same issue, same model, living in the same country as you, and this helped me fix it easily! New fuser from digitec and 20m of work, good as new! Cheers!
Duraid from Canada wrote on Nov 15th, 2021:
I have exactly the same problem. I found this video about cleaning the fuser drum. I'll try it first before buying a new one. Thanks a lot for sharing.
https://www.youtube.com/watch?v=uV7N7gmUJnk
ck from Switzerland wrote on Oct 21st, 2021:
Paolo, obviously something went wrong - but you are barking at the wrong tree. According to Brother USA, the Print Unable 05 error comes from a mechanical error. So it might be that the drum unit was not correctly placed. I suggest to either contact Brother support or you comment on the video from Hermes Lara. Good luck!
Paolo from wrote on Oct 21st, 2021:
I followed the instructions on your page and watch the video you show to use by Hermes Lara now my printer keeps saying print unable 05 every time I turn it on and I cannot print. Help what is wrong with your instructions?

AI AWS Android Ansible Apache Apple Atlassian BSD Backup Bash Bluecoat CMS Chef Cloud Coding Consul Containers CouchDB DB DNS Databases Docker ELK Elasticsearch Filebeat FreeBSD Galera Git GlusterFS Grafana Graphics HAProxy HTML Hacks Hardware Icinga Influx Internet Java KVM Kibana Kodi Kubernetes LVM LXC Linux Logstash Mac Macintosh Mail MariaDB Minio MongoDB Monitoring Multimedia MySQL NFS Nagios Network Nginx OSSEC OTRS Observability Office OpenSearch PHP Perl Personal PostgreSQL PowerDNS Proxmox Proxy Python Rancher Rant Redis Roundcube SSL Samba Seafile Security Shell SmartOS Solaris Surveillance Systemd TLS Tomcat Ubuntu Unix VMware Varnish Virtualization Windows Wireless Wordpress Wyse ZFS Znuny Zoneminder