
Our storage team recently updated the ONTAP software on our NetApp filer to the current version 9.5. Since then the monitoring checks (using check_netapp_ontap.pl) failed with the following error:
Additional Info: Failed test query: NaServer::parse_xml - Error in parsing xml:
syntax error at line 1, column 49, byte 49:
<!DOCTYPE HTML PUBLIC "-//IETF//DTD HTML 2.0//EN"> ================================================^
<html><head>
<title>400 Bad Request</title>
at /usr/lib/perl5/XML/Parser.pm line 187.
After some quick verification it seemed clear to me I needed to update the NetApp SDK which is used in the background by the plugin. That's a good situation to write down the plugin installation from scratch again - and use the newest available plugin, too.
As mentioned, the plugin requires the NetApp SDK, so this howto is separated into part one for the SDK and part two for the plugin itself.
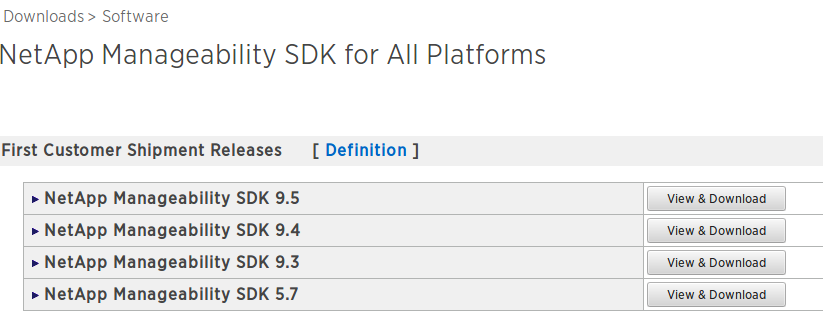
First you need to download the "NetApp Manageability SDK". You should be able to find the download on NetApp NOW. You need a NetApp account to access this page. When asked for platform, choose "All Platforms".
Depending on your currently installed NetApp software/firmware version, you want the same SDK version. In my case this is SDK 9.5 (Ontap updated to 9.5, ergo.. you guessed it).
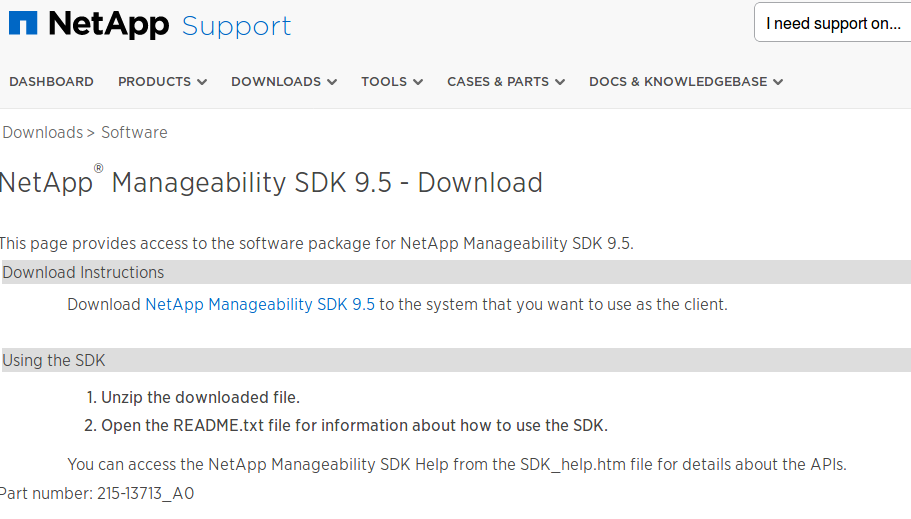
Once the download of the zip file (netapp-manageability-sdk-9.5.zip) was completed, copy it to your monitoring server, where you run check_netapp_ontap.pl, and unzip it in a temporary folder.
Unzipped, you will see the following structure:
# cd netapp-manageability-sdk-9.5/
# ll
total 32
drwxr-xr-x 3 root root 4096 Oct 26 05:43 bin
drwxr-xr-x 7 root root 4096 Oct 26 05:43 doc
drwxr-xr-x 5 root root 4096 Oct 26 05:43 include
drwxr-xr-x 12 root root 4096 Oct 26 05:43 lib
-rw-r--r-- 1 root root 338 Oct 24 04:07 README.txt
-rw-r--r-- 1 root root 1586 Oct 24 04:07 SDK_help.htm
drwxr-xr-x 7 root root 4096 Oct 26 05:43 src
drwxr-xr-x 2 root root 4096 Oct 26 05:43 zedi
Inside the lib/perl/NetApp directory you will find the perl related files:
# ll lib/perl/NetApp/
total 13568
-rw-r--r-- 1 root root 18828 Oct 24 04:15 DfmErrno.pm
-rw-r--r-- 1 root root 16413 Oct 24 04:15 NaElement.pm
-rw-r--r-- 1 root root 81816 Oct 24 04:15 NaErrno.pm
-rw-r--r-- 1 root root 62416 Oct 24 04:15 NaServer.pm
-rw-r--r-- 1 root root 404814 Oct 24 04:49 OCUMAPI.pm
-rw-r--r-- 1 root root 2107602 Oct 24 04:49 OCUMClassicAPI.pm
-rw-r--r-- 1 root root 2282510 Oct 24 04:48 Ontap7ModeAPI.pm
-rw-r--r-- 1 root root 8865302 Oct 24 04:49 OntapClusterAPI.pm
-rw-r--r-- 1 root root 3310 Oct 24 04:15 ONTAPILogParser.pm
-rw-r--r-- 1 root root 5669 Oct 24 04:15 ONTAPITestContainer.pm
-rw-r--r-- 1 root root 3658 Oct 24 04:15 SdkEnv.pm
-rw-r--r-- 1 root root 2986 Oct 24 04:15 Test.pm
Copy these files into a path which is used by the local Perl installation. In my case I used /usr/lib/perl5/:
# cp -p lib/perl/NetApp/* /usr/lib/perl5/
Update: On Ubuntu 20.04 you need to use a different path (/usr/share/perl5):
# cp -p lib/perl/NetApp/* /usr/share/perl5/
Now the plugin can be installed using the latest version:
# git clone https://github.com/willemdh/check_netapp_ontap.git
# cd check_netapp_ontap/
# chmod 755 check_netapp_ontap.pl
Note: To do some basic checks you first need to create a user in your NetApp. How to do this is out of scope of this Howto and as the NetApp is managed by another team, I cannot show screenshots here.
Let's run the plugin and make some checks:
./check_netapp_ontap.pl -H netappip -u "adminuser" -p "secret" -o filer_hardware_health
Smartmatch is experimental at ./check_netapp_ontap.pl line 425.
Smartmatch is experimental at ./check_netapp_ontap.pl line 426.
Smartmatch is experimental at ./check_netapp_ontap.pl line 427.
OK - No problem found (8 checked)
# ./check_netapp_ontap.pl -H netappip -u "adminuser" "secret" -o aggregate_health
Smartmatch is experimental at ./check_netapp_ontap.pl line 425.
Smartmatch is experimental at ./check_netapp_ontap.pl line 426.
Smartmatch is experimental at ./check_netapp_ontap.pl line 427.
netappgm02/aggr_netappgm02_p_root - 907.59GB/953.80GB (95%) SPACE USED, netappgm03/aggr_netappgm03_p_root - 907.59GB/953.80GB (95%) SPACE USED, netappgm03/aggr_netappgm03_p_sas_data - 48.00TB/58.83TB (82%) SPACE USED, netappgm02/aggr_netappgm02_p_sata_data - 165.34TB/205.90TB (80%) SPACE USED, netappgm02/aggr_netappgm02_p_sas_data - 47.16TB/58.83TB (80%) SPACE USED | 'netappgm03/aggr_netappgm03_p_sas_data_usage'=52772224913408B;;;0;64682369482752 'netappgm02/aggr_netappgm02_p_sata_data_usage'=181794758578176B;;;0;226389705228288 'netappgm03/aggr_netappgm03_p_ssd_data_usage'=21994259759104B;;;0;31107825270784 'netappgm02/aggr_netappgm02_p_sas_data_usage'=51854681018368B;;;0;64682369482752 'netappgm03/aggr_netappgm03_p_sata_data_usage'=139719268913152B;;;0;186861343997952
You may have noticed the "Smartmatch is experimental" in the output. This is already reported to the plugin maintainer on Issue 77.
As a workaround, you may add a "no warning" code at the begin of the plugin, like so:
use warnings;
use strict;
use NaServer;
use NaElement;
use Getopt::Long;
use POSIX;
# do not show smartmatch warnings
no warnings 'experimental::smartmatch';
This tells Perl to ignore the experimental smartmatch warnings.
For detailed usage of the plugin check out the official documentation of the plugin.
Update March 25th 2019: Correction: The NetApp filer was upgraded to ONTAP 9.3 P11. However I still installed the latest SDK 9.5 which works fine.
Claudio Kuenzler from Switzerland wrote on Mar 3rd, 2023:
Nathan, as far as I know, the exclude (or include) patterns only support the names of volumes or aggregates, but not the state of disks. So I am not sure if this is possible. Contact me directly on Infiniroot if you would like me to investigate further.
Nathan from wrote on Mar 3rd, 2023:
I have tried to use -o disk_health and it returns a bunch of disk that are scrubbing or unassigned. I have tried to use -m exclude,scrubbing or -m exclude,*scrubbing with mixed result, neither that I am after. Do you have any ideas how I can bend this to exclude unwanted disk health?
ck from Switzerland wrote on Jul 29th, 2022:
Ger, you can use -m exclude,LUNname to exclude one or more volumes. The opposite way works also if you want to only check a specific volume by using -m include,LUNname.
Ger from wrote on Jul 28th, 2022:
If I run:
/usr/local/nagios/libexec/check_netapp_ontap.pl -H netappip --user nagios --password mypassword -o volume_health -n VMware-production
I get a list of several LUNS that are contained in that volume. I tried using option -e to limit to the LUN I wanted, do you know of a way to limit output?

AI AWS Android Ansible Apache Apple Atlassian BSD Backup Bash Bluecoat CMS Chef Cloud Coding Consul Containers CouchDB DB DNS Databases Docker ELK Elasticsearch Filebeat FreeBSD Galera Git GlusterFS Grafana Graphics HAProxy HTML Hacks Hardware Icinga Influx Internet Java KVM Kibana Kodi Kubernetes LVM LXC Linux Logstash Mac Macintosh Mail MariaDB Minio MongoDB Monitoring Multimedia MySQL NFS Nagios Network Nginx OSSEC OTRS Observability Office OpenSearch PHP Perl Personal PostgreSQL PowerDNS Proxmox Proxy Python Rancher Rant Redis Roundcube SSL Samba Seafile Security Shell SmartOS Solaris Surveillance Systemd TLS Tomcat Ubuntu Unix VMware Varnish Virtualization Windows Wireless Wordpress Wyse ZFS Znuny Zoneminder