
As I wrote in my last article, I was preparing my notebook (Dell Latitude E7440) to finally upgrade from Linux Mint 17.3 to the newest available Linux Mint 19.3. Here is a step by step guide.
Once the ISO file (linuxmint-19.3-cinnamon-64bit.iso) was downloaded, it's time to create the bootable USB stick. I fell on my nose by using dd and unetbootin. Do not use these tools! Linux Mint won't be able to boot from the stick.
On several attempts trying to create a Linux Mint 19.3 USB stick, I got the following error:
failed to load ldlinux.c32
Instead follow the official guide how to create a bootable media. On an already existing Linux Mint installation right-click on the ISO file and open it with Disk Image Writer (or Make bootable USB stick). For other distributions (or even operating systems), the open source tool etcher is suggested.
I was finally successful using the Disk Image Writer application. Linux Mint booted correctly from the USB stick.
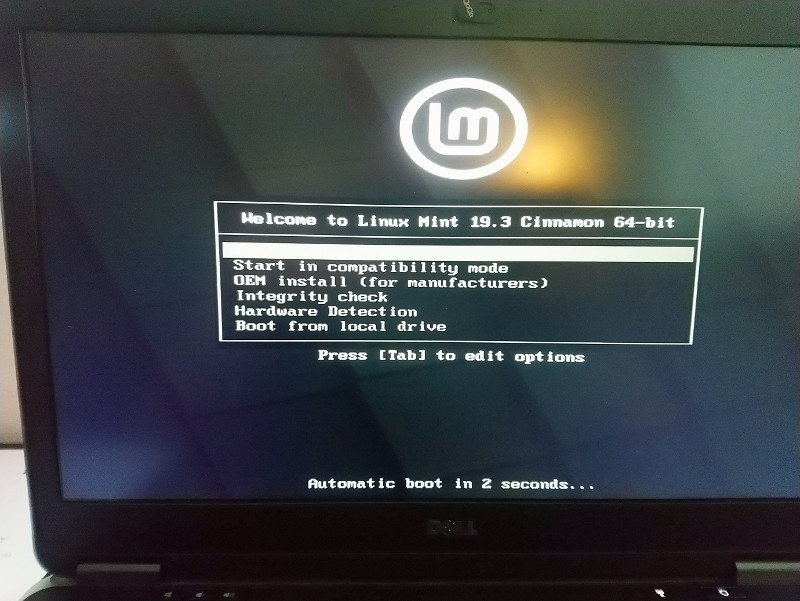
Linux Mint is a "live image". You can play around and use Mint. But if you want to install Linux Mint, you have to open the setup application. The shortcut to it can be found on the Desktop and is named "Install Linux Mint". Pretty handy, right?
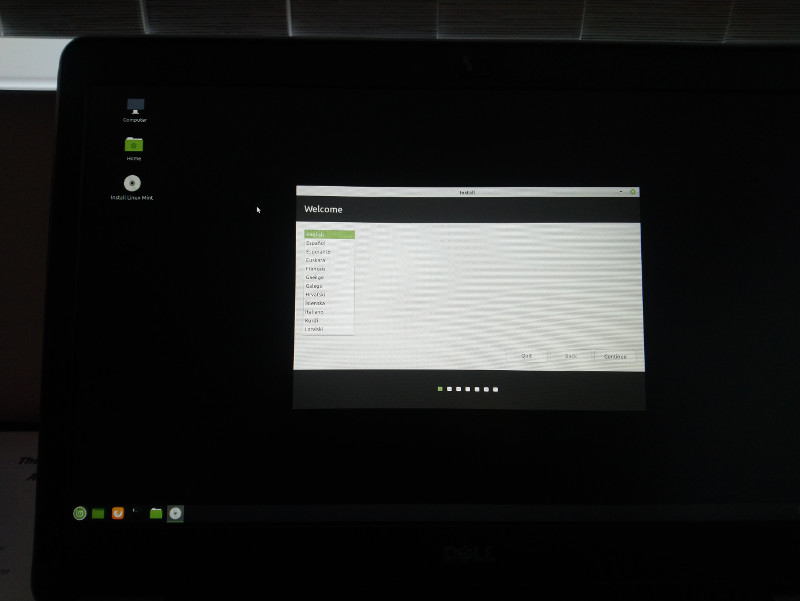
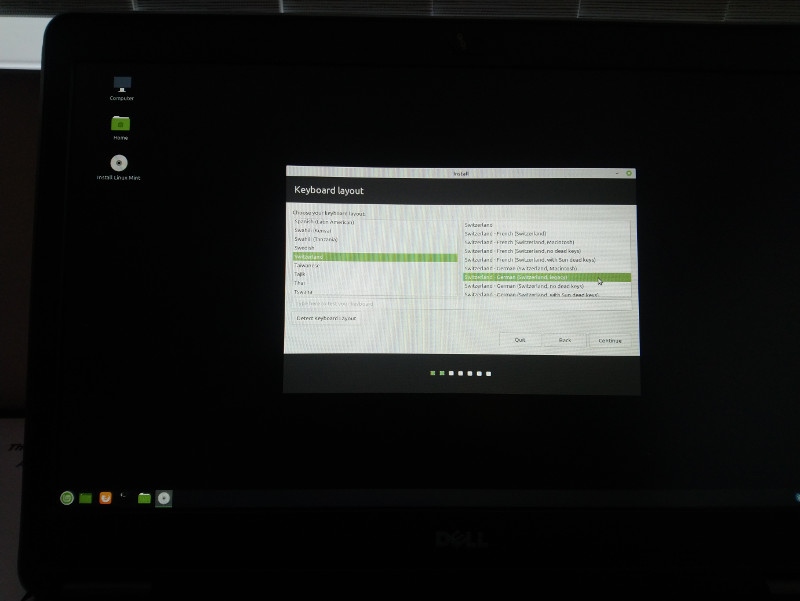
The installer is a pure "next next next" setup. It starts with the language followed by the keyboard layout.
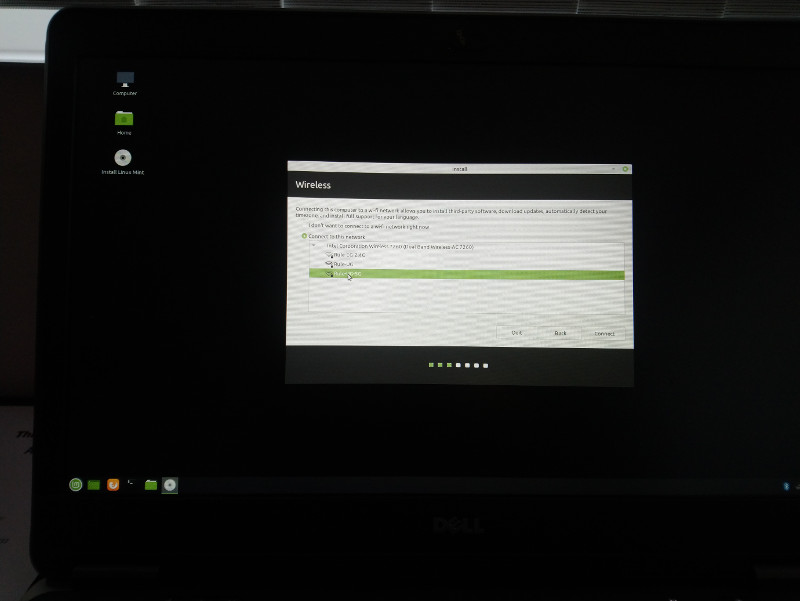
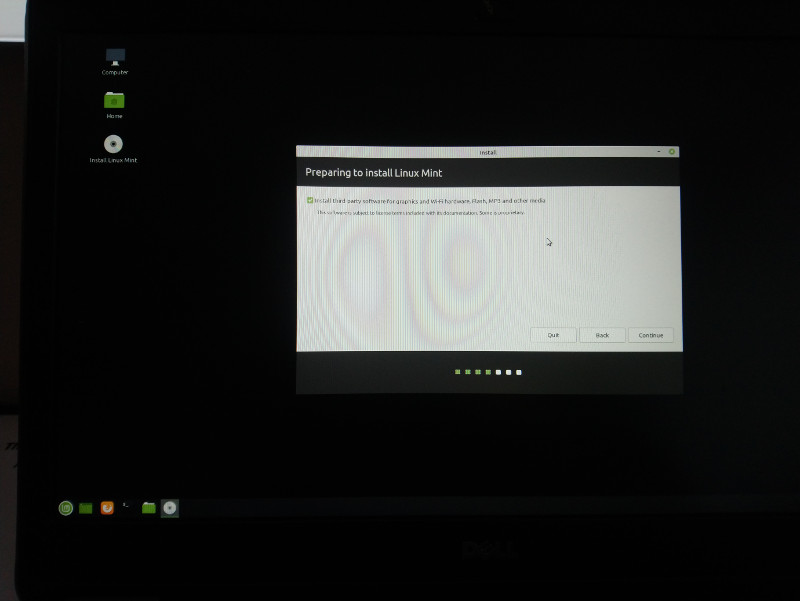
The next window gives an opportunity to connect to a wireless network (if not yet connected to a network). This allows to directly download and install third party tools (such as proprietary drivers and software) matching the hardware.
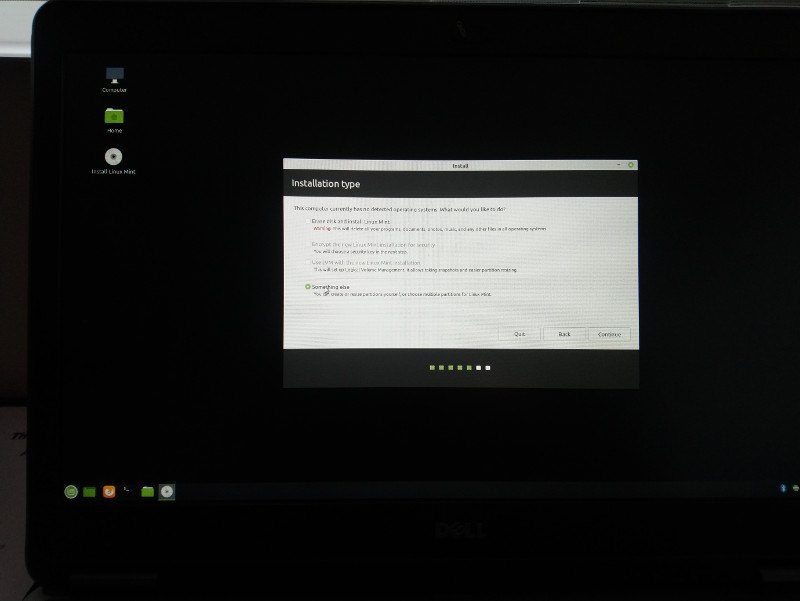
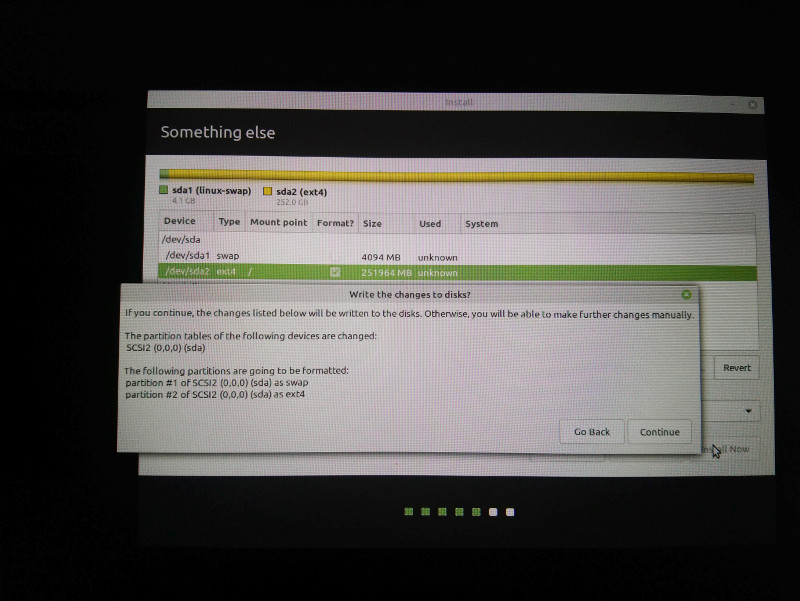
The next step is the only part of the setup which (might) require a bit more advanced knowledge. The "Installation type" question can be answered with the most basic setup (Erase disk and install Linux Mint) which will basically just install Linux Mint in a single root partition. Advanced users click on "Something else". In this case I clicked on "Something else" and manually created two partitions. The first partition with a size of 4GB (4096 MB) which should be used for swap, the rest as a single root partition mounted on /.
Note: As I did an upgrade from an existing installation, I deleted existing partitions prior to launching the setup using gparted from the live image. Inside the Mint setup deletion of partitions doesn't work as good.
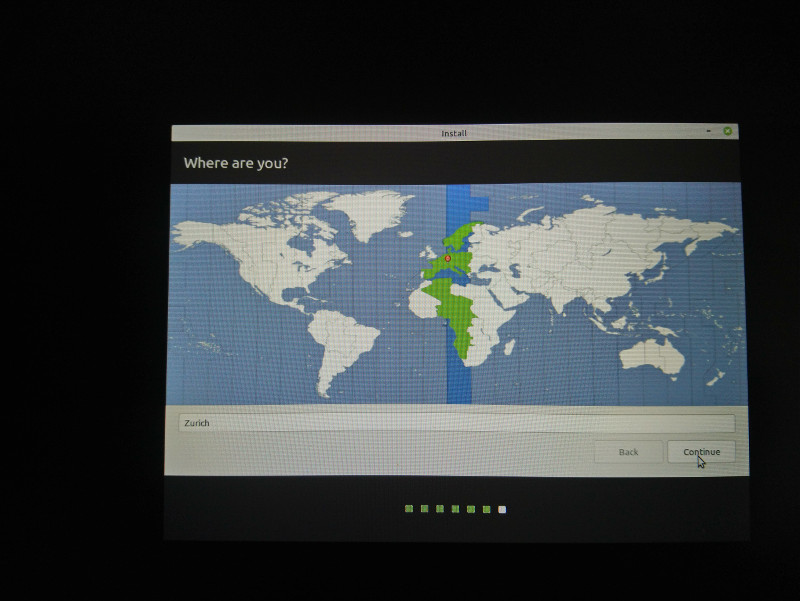
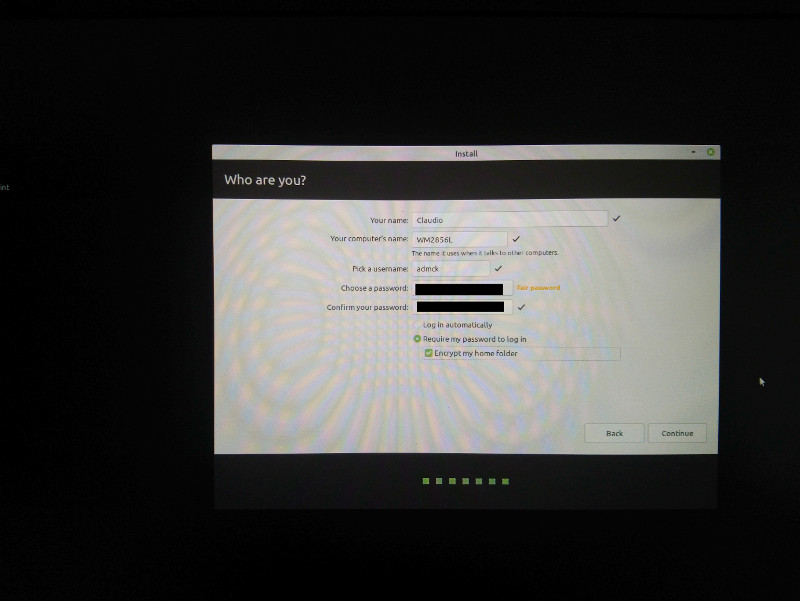
After the disk partitioning setup the region/location (timezone) can be selected followed at the end by the creation of the (first) user.
And that's it already. After the user window, the installation starts. After the installation the machine can be rebooted and (with the installation media removed) Linux Mint 19.3 should be booting from the HDD.
No comments yet.

AI AWS Android Ansible Apache Apple Atlassian BSD Backup Bash Bluecoat CMS Chef Cloud Coding Consul Containers CouchDB DB DNS Databases Docker ELK Elasticsearch Filebeat FreeBSD Galera Git GlusterFS Grafana Graphics HAProxy HTML Hacks Hardware Icinga Influx Internet Java KVM Kibana Kodi Kubernetes LVM LXC Linux Logstash Mac Macintosh Mail MariaDB Minio MongoDB Monitoring Multimedia MySQL NFS Nagios Network Nginx OSSEC OTRS Observability Office OpenSearch PHP Perl Personal PostgreSQL PowerDNS Proxmox Proxy Python Rancher Rant Redis Roundcube SSL Samba Seafile Security Shell SmartOS Solaris Surveillance Systemd TLS Tomcat Ubuntu Unix VMware Varnish Virtualization Windows Wireless Wordpress Wyse ZFS Znuny Zoneminder