
Creating a new RAID array on a hardware storage controller is usually not worth a new blog article. However this was the first time I needed to create a RAID array on a new Dell PowerEdge R7525 server with a PERC H745 RAID controller. Being used to the "terminal-style" or "ncurses-style" controller configurations, I was surprised that EVERYTHING is now click-based. Many users would probably prefer it this way - but I personally find it more confusing than the previous keyboard based PERC RAID configuration (it took me longer to find my way around). Maybe I'm old - or old-fashioned. ;-)
Anyway, this is a guide how to create a RAID-1 array with a hot spare from three physical drives on a Dell PowerEdge R7525 server with a PERC H745 RAID controller.
Obviously to enter the PERC configuration, F2 key needs to be pressed during the server boot (POST).
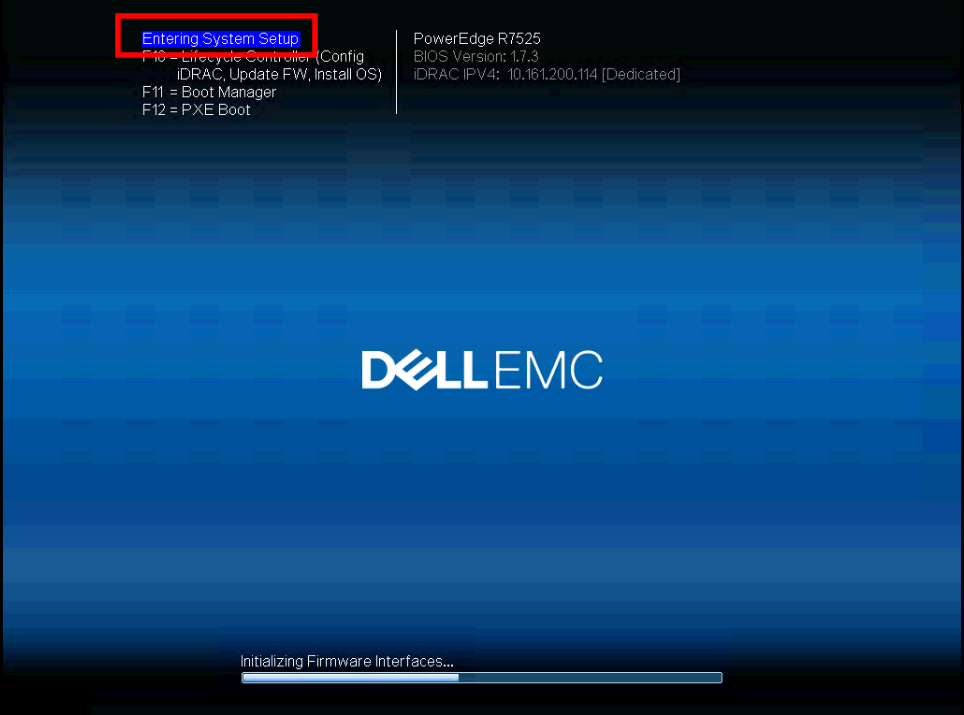
A blue highlighted text should appear on top "Entering System Setup".
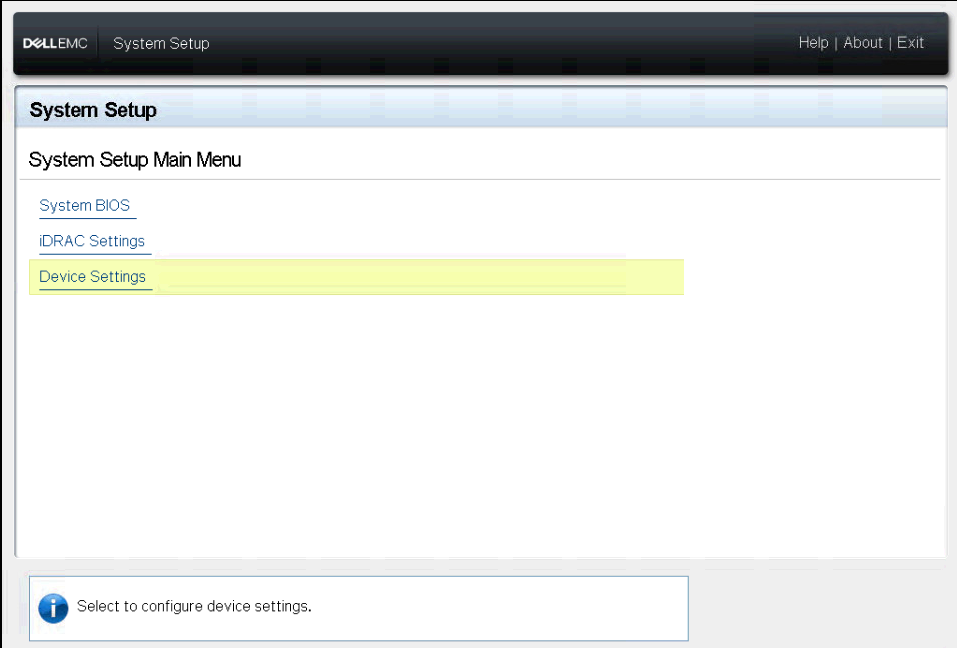
Once the System Setup has loaded, you will find yourself in the clickety-click main menu, where you click on Device Settings.
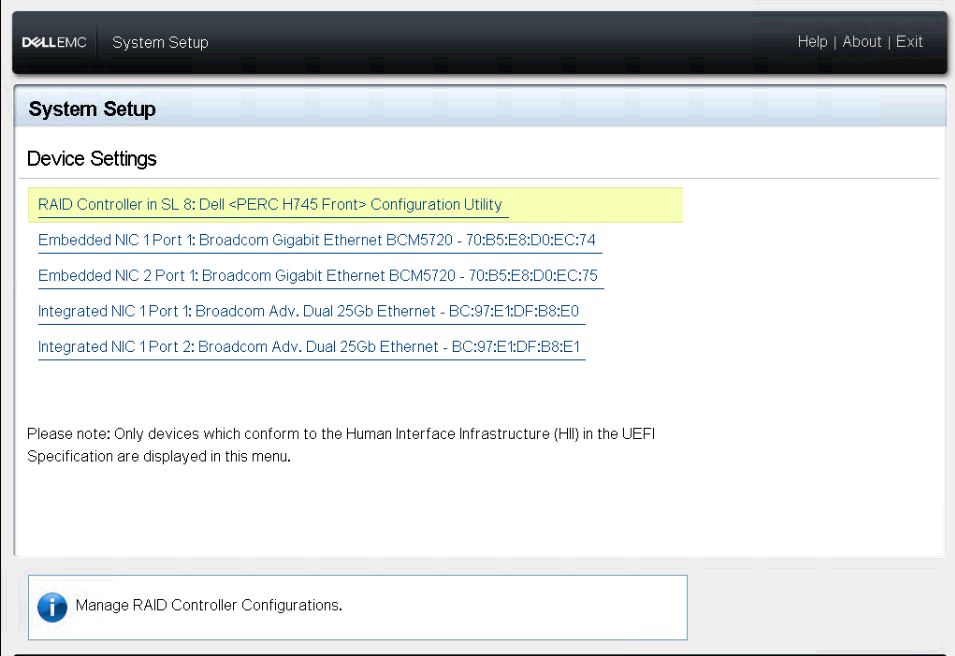
Once in the Device Settings, obviously click on the RAID Controller Configuration Utility:
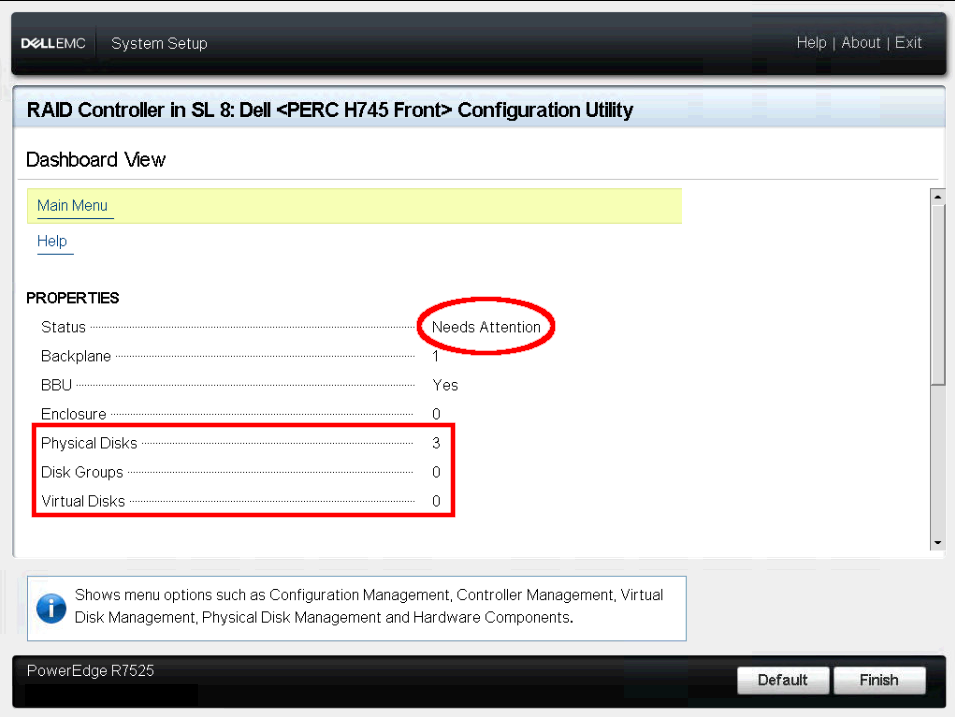
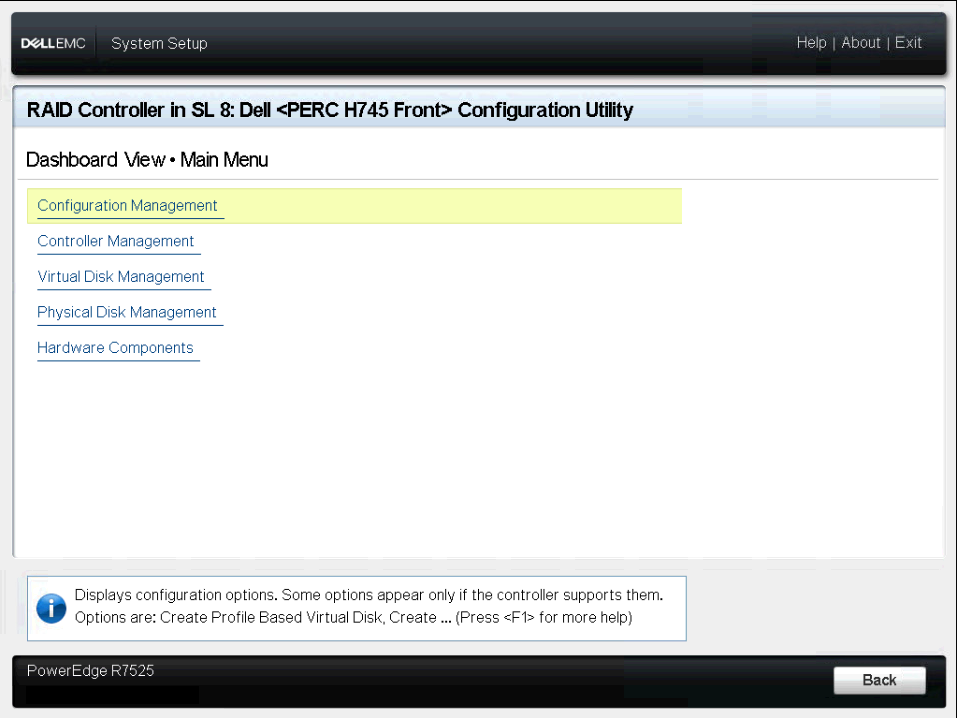
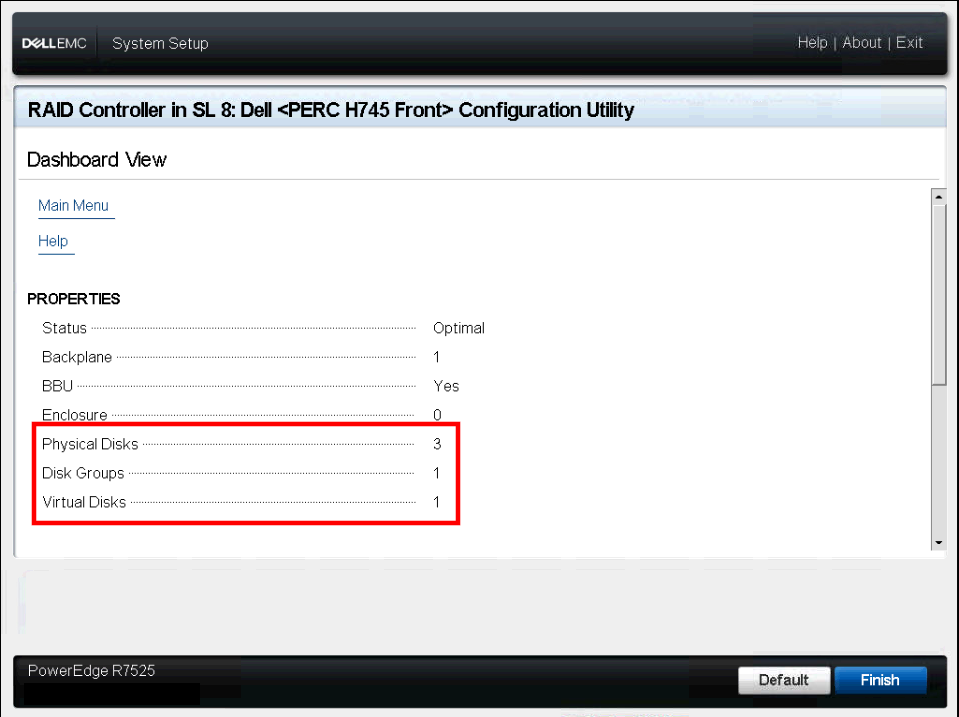
This opens up the "Dashboard View". On a brand new system there is (most likely) no RAID array configured yet. The configuration utility therefore correctly sets a status of "Needs Attention". Further down in the properties we can see the 3 physical drives, yet no disk groups and no virtual disks (Logical Drive) have been created.
Yet another click on Main Menu opens the configuration part.
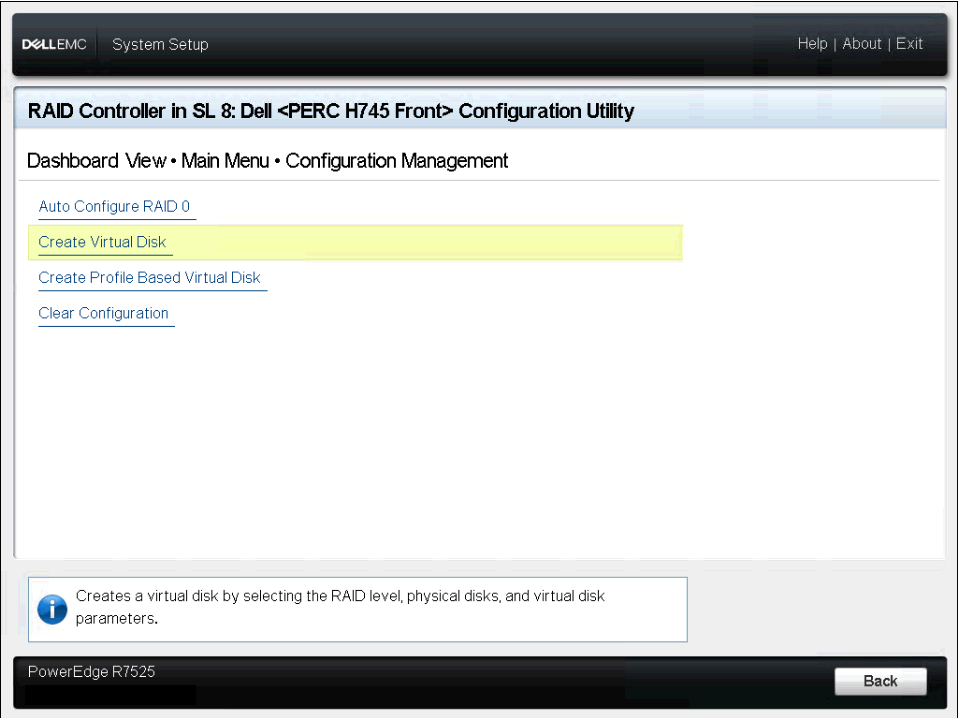
Next click on Configuration Management, then on Create Virtual Disk.
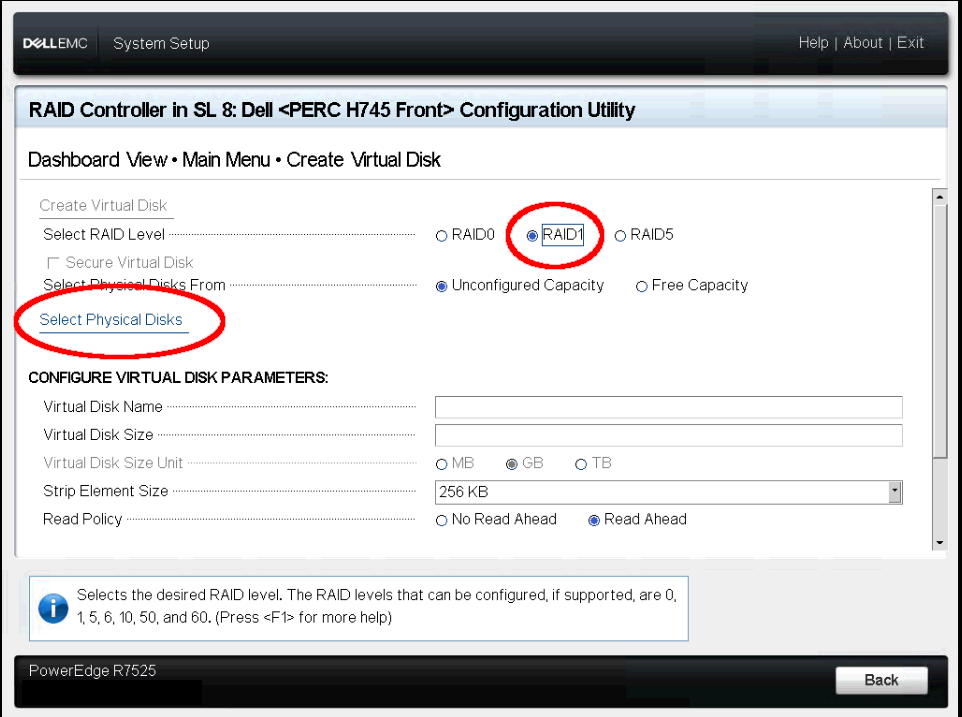
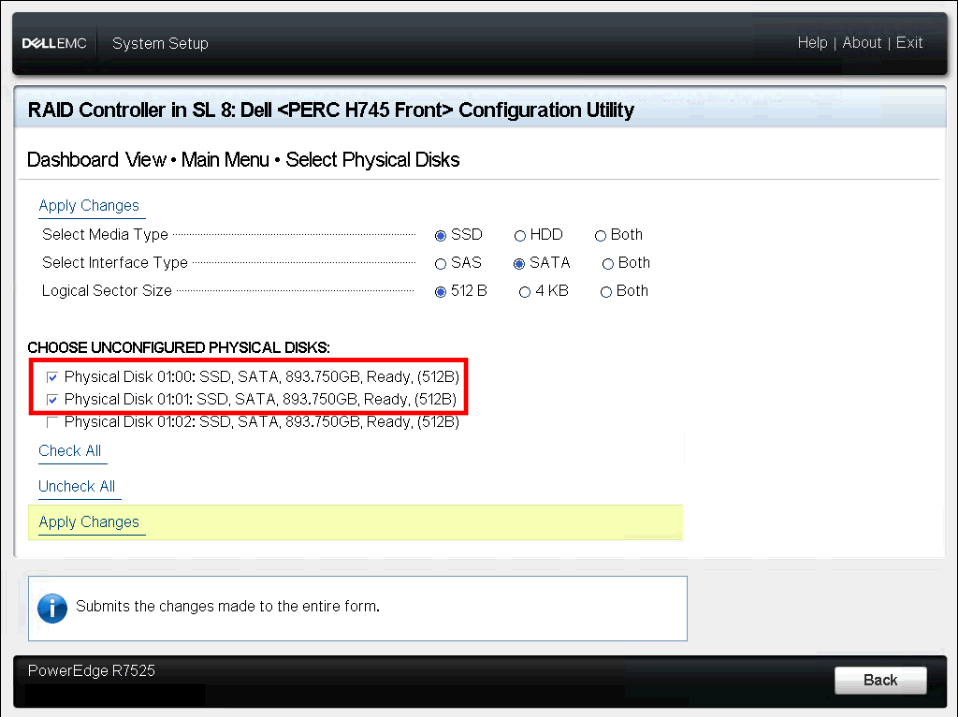
In the "Create Virtual Disk" window, select the wanted RAID level. In this case we want a RAID-1. Then click on Select Physical Disks. This will list all available physical drives. For a RAID-1 only two drives can be selected. I also definded the Media Type, Interface Type and Logical Sector Size according to the physical drives. Then click on Apply Changes. The configuration utility should return a "The operation has been performed successfully" which you can close by clicking on OK.
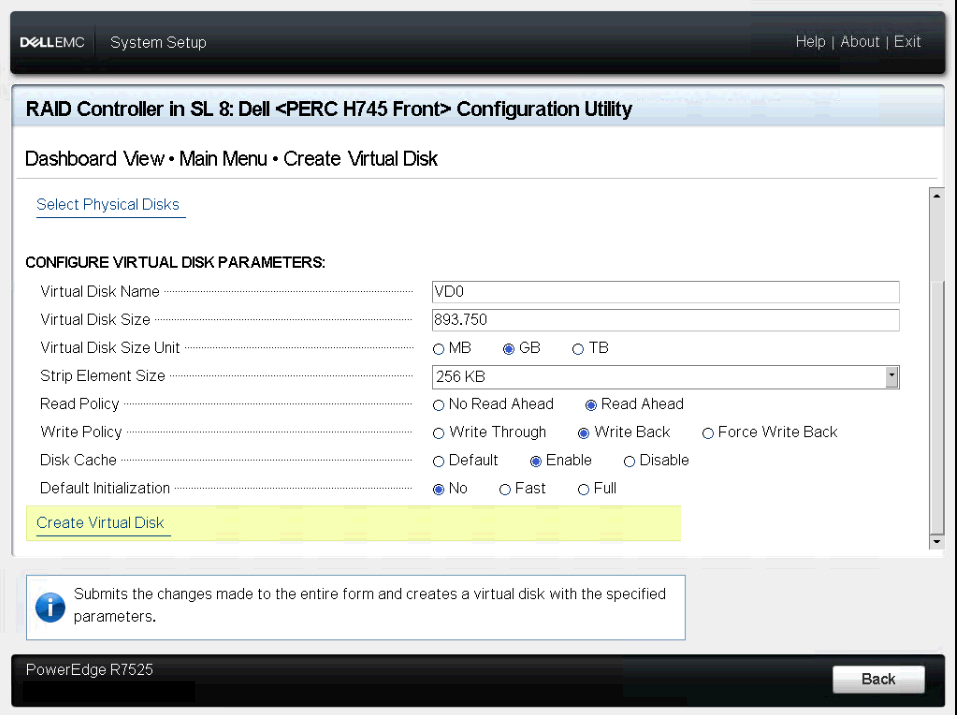
Back in the Create Virtual Disk window, don't forget the virtual disk parameters below the
physical disks selection. This is where controller cache and read and
write policies are defined. Here I chose to use a "Read Ahead" read
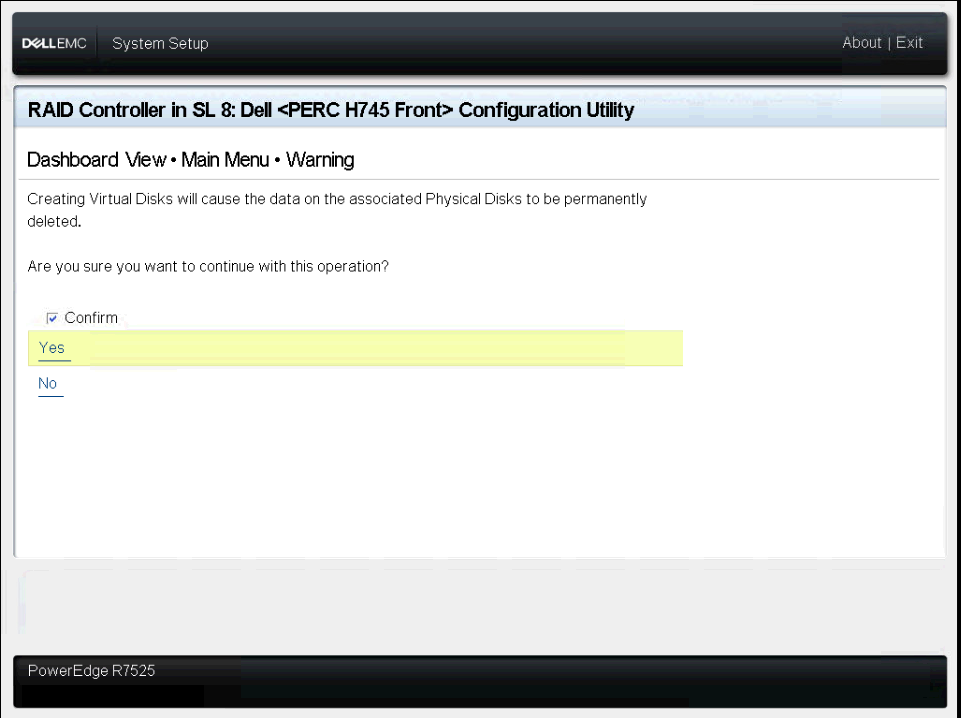
policy and "Write Back" write policy and enabled the Disk Cache. Finally, click on Create Virtual Disk and in the next window confirm.
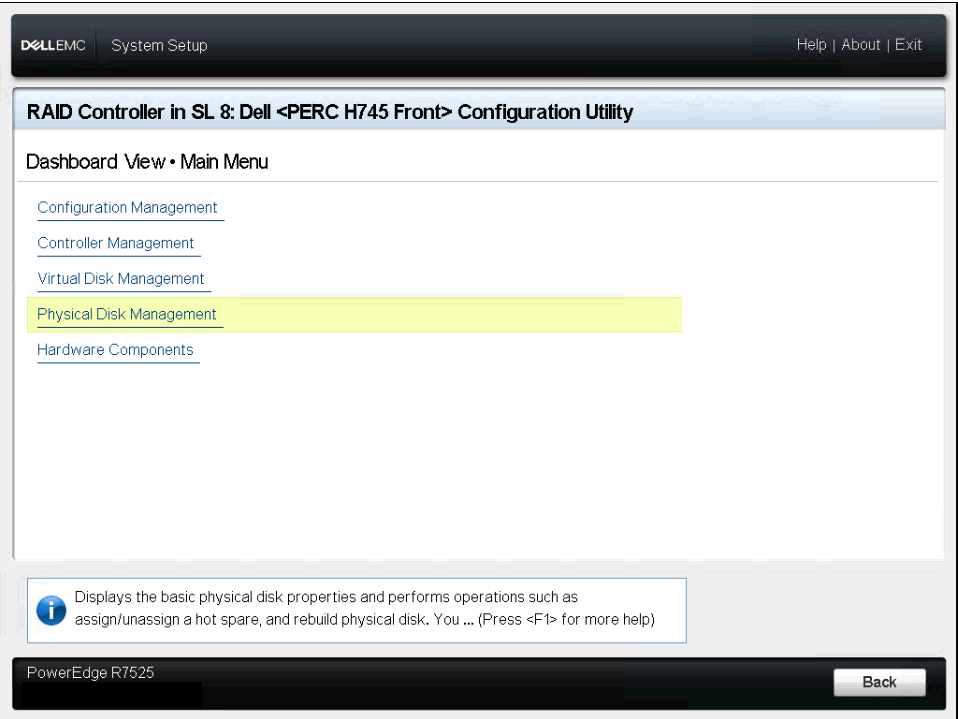
To be honest, I expected to assign the hot spare role to a disk during the creation of the RAID array. However this is handled a bit differently in this PERC Configuration Utility. Back in the RAID Controller Configuration Utility main menu, click on Physical Disk Management:
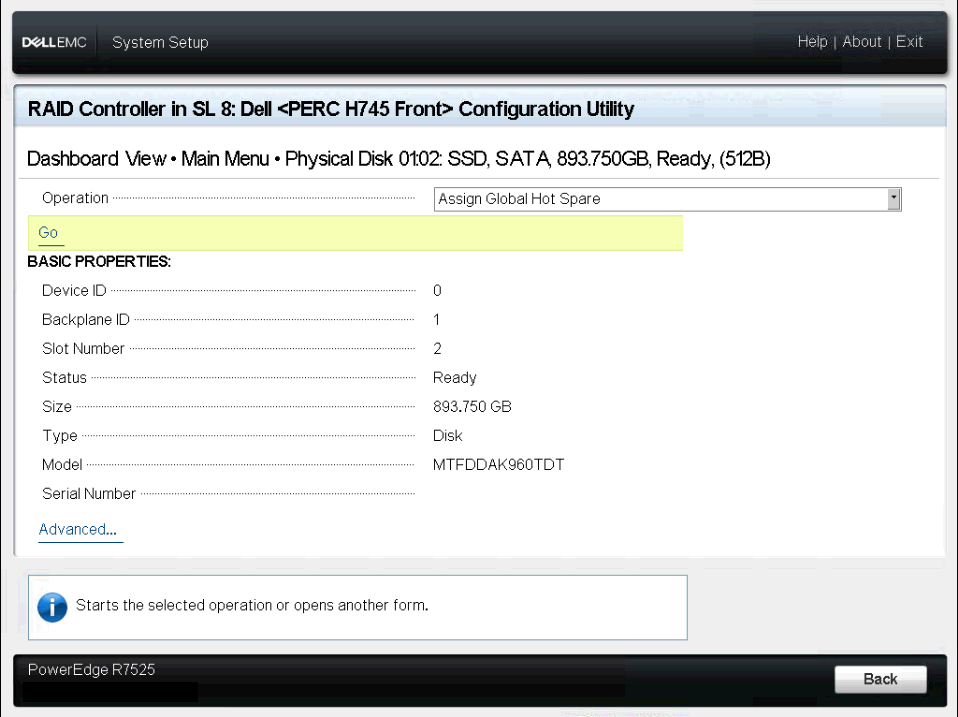
Click on the third physical disk - that's the disk which was not selected during the RAID-1 virtual disk creation. Then in the "Operation" row, select "Assign Global Hot Spare" as operation. Then click on Go.

Finally, back in the Dashboard View, the status now shows "Optimal" and we can see that one Disk Group and one Virtual Disk were created.
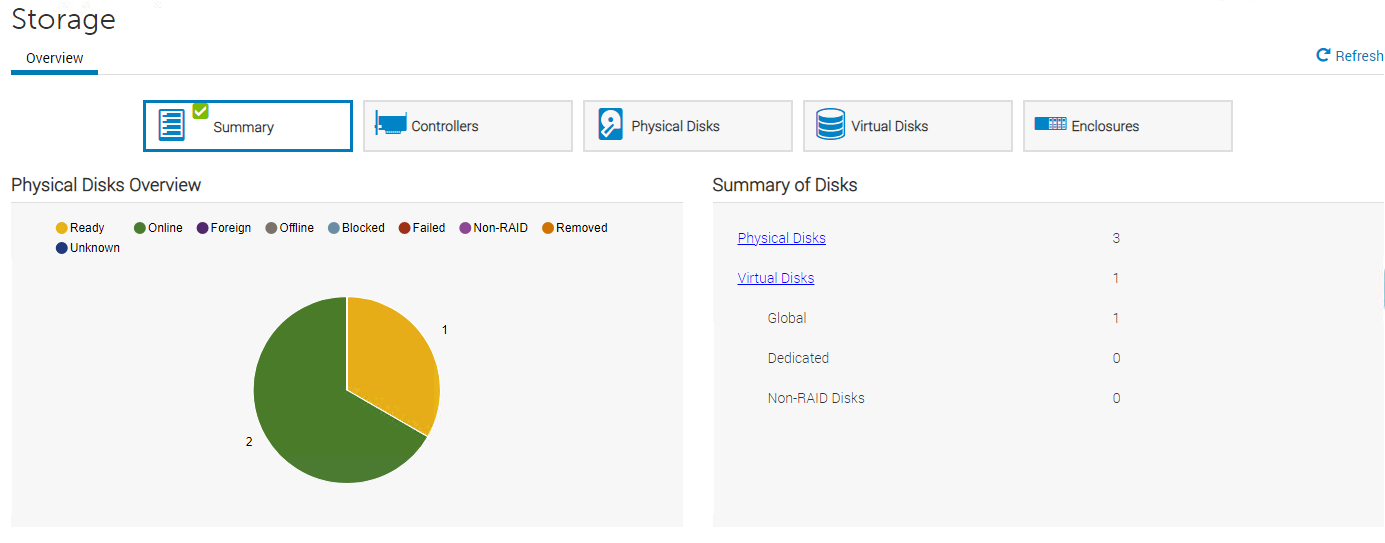
In the server's iDRAC 9 (Integrated Dell Remote Access Controller), the storage configuration can be verified. This shows 2 physical disks in "Online", one in "Ready" state:
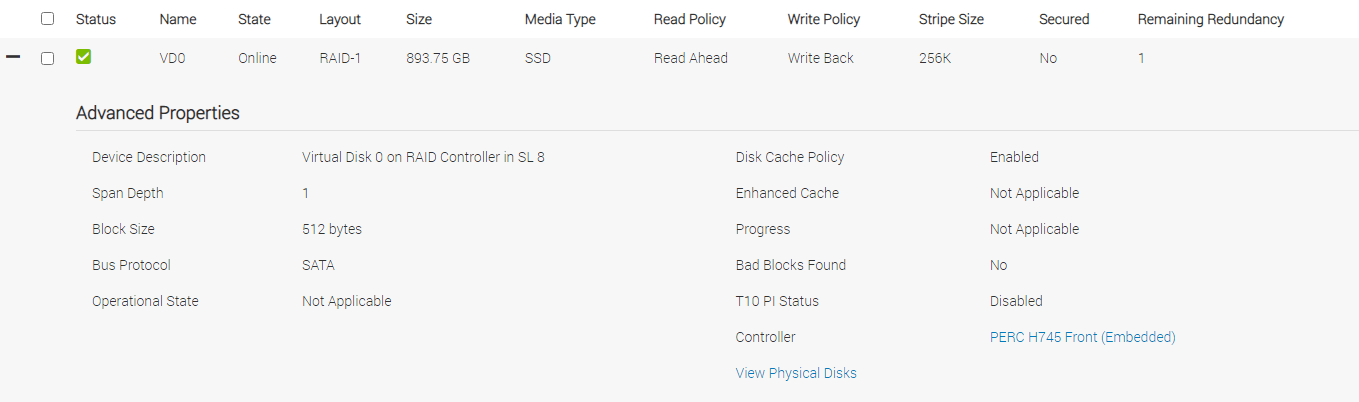
Under the "Virtual Disks" tab, the previously created "VD0" is showing up:
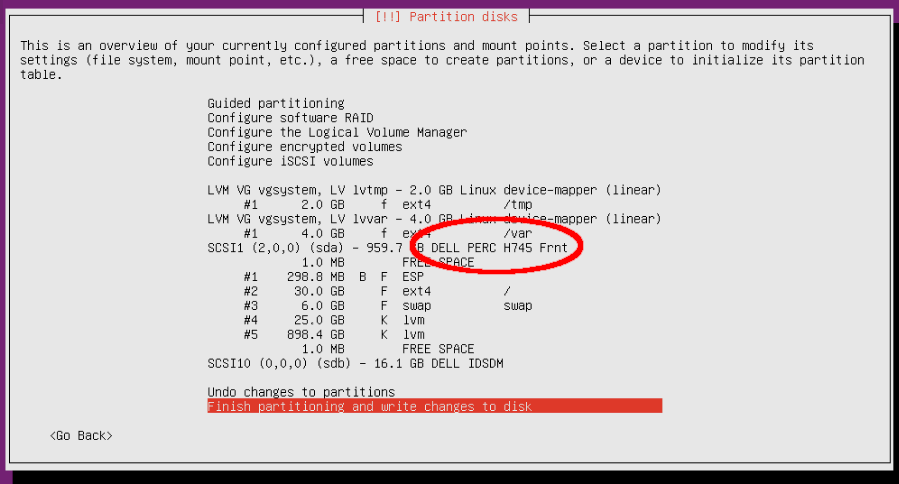
After the storage configuration was completed, Ubuntu 20.04 (Focal) LTS was installed. The partition manager detected the virtual disk as "DELL PERC H745 Frnt":
Inside the installed Operating System, the physical disks can be seen as megaraid disks. smartctl (from the smartmontools package) allows to detect them quickly:
root@per7525:~# smartctl --scan
/dev/sda -d scsi # /dev/sda, SCSI device
/dev/bus/0 -d megaraid,0 # /dev/bus/0 [megaraid_disk_00], SCSI device
/dev/bus/0 -d megaraid,1 # /dev/bus/0 [megaraid_disk_01], SCSI device
/dev/bus/0 -d megaraid,2 # /dev/bus/0 [megaraid_disk_02], SCSI device
And of course they can now be monitored using the check_smart monitoring plugin.
If you prefer a video, then you're in luck. There's now a video of this tutorial on Youtube.
No comments yet.

AI AWS Android Ansible Apache Apple Atlassian BSD Backup Bash Bluecoat CMS Chef Cloud Coding Consul Containers CouchDB DB DNS Databases Docker ELK Elasticsearch Filebeat FreeBSD Galera Git GlusterFS Grafana Graphics HAProxy HTML Hacks Hardware Icinga Influx Internet Java KVM Kibana Kodi Kubernetes LVM LXC Linux Logstash Mac Macintosh Mail MariaDB Minio MongoDB Monitoring Multimedia MySQL NFS Nagios Network Nginx OSSEC OTRS Observability Office OpenSearch PHP Perl Personal PostgreSQL PowerDNS Proxmox Proxy Python Rancher Rant Redis Roundcube SSL Samba Seafile Security Shell SmartOS Solaris Surveillance Systemd TLS Tomcat Ubuntu Unix VMware Varnish Virtualization Windows Wireless Wordpress Wyse ZFS Znuny Zoneminder