
After replacing a physical drive from a software raid on Linux, the replaced drive should not be thrown away (or sold) without properly erasing the data on it first. As long as the drive is somewhat working, anyway.
When connecting the (replaced) drive to another Linux system (e.g. with a SATA connector/adapter), you should first remove the so-called RAID superblock. This block still contains the information from the RAID array this drive was previously part of.
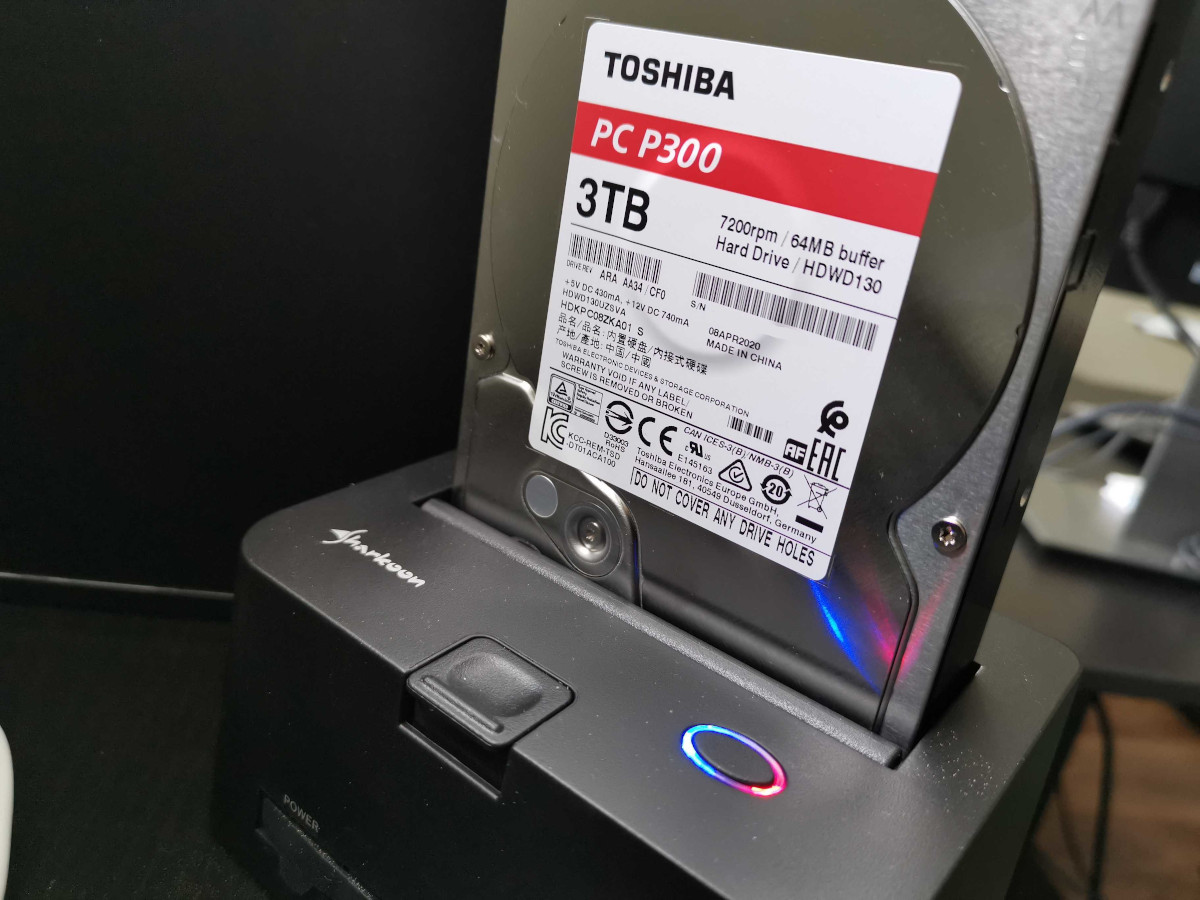
After the drive was connected, you should be able to see the drive appearing as /dev/sdX. You could check the output of dmesg or lsblk to find the correct device letter.
ck@mintp ~ $ sudo dmesg|tail
[sudo] password for ck:
[14883.101169] sd 6:0:0:0: [sdd] Very big device. Trying to use READ CAPACITY(16).
[14883.102470] sd 6:0:0:0: [sdd] 5860533168 512-byte logical blocks: (3.00 TB/2.73 TiB)
[14883.103014] sd 6:0:0:0: [sdd] Write Protect is off
[14883.103018] sd 6:0:0:0: [sdd] Mode Sense: 03 00 00 00
[14883.103557] sd 6:0:0:0: [sdd] No Caching mode page found
[14883.103562] sd 6:0:0:0: [sdd] Assuming drive cache: write through
[14883.126178] sd 6:0:0:0: [sdd] Very big device. Trying to use READ CAPACITY(16).
[14884.848840] sdd: sdd1
[14884.867440] sd 6:0:0:0: [sdd] Very big device. Trying to use READ CAPACITY(16).
[14884.891829] sd 6:0:0:0: [sdd] Attached SCSI disk
In this case, the drive was detected as /dev/sdd.
Let's wipe the RAID superblock on /dev/sdd with mdadm:
--zero-superblock
If the device contains a valid md superblock, the block is overwritten with zeros.
ck@mintp:~# sudo mdadm --zero-superblock /dev/sdd
mdadm: Couldn't open /dev/sdd for write - not zeroing
In this situation the --zero-superblock action did not work on the drive. The reason is that the Linux Kernel automatically spun up a new array for the new drive:
ck@mintp ~ $ cat /proc/mdstat
Personalities : [raid1] [linear] [multipath] [raid0] [raid6] [raid5] [raid4] [raid10]
md127 : inactive sdd1[3](S)
2930264519 blocks super 1.2
md1 : active raid1 sdb2[1] sda2[0]
4190208 blocks super 1.2 [2/2] [UU]
md0 : active raid1 sdb1[1] sda1[0]
484060160 blocks super 1.2 [2/2] [UU]
bitmap: 4/4 pages [16KB], 65536KB chunk
unused devices: <none>
Note the RAID array md127: It appeared on its own and lists the first partition of the newly connected drive /dev/sdd.
We first need to stop this RAID array:
ck@mintp ~ $ sudo mdadm --stop /dev/md127
mdadm: stopped /dev/md127
The RAID array md127 is now gone:
ck@mintp ~ $ cat /proc/mdstat
Personalities : [raid1] [linear] [multipath] [raid0] [raid6] [raid5] [raid4] [raid10]
md1 : active raid1 sdb2[1] sda2[0]
4190208 blocks super 1.2 [2/2] [UU]
md0 : active raid1 sdb1[1] sda1[0]
484060160 blocks super 1.2 [2/2] [UU]
bitmap: 4/4 pages [16KB], 65536KB chunk
unused devices: <none>
And now --zero-superblock should work:
ck@mintp ~ $ sudo mdadm --zero-superblock /dev/sdd1
An alternative would be the wipefs command. This should (according to the man page) also remove the mdadm superblock and other informational "signatures":
wipefs can erase filesystem, raid or partition-table signatures (magic strings) from the specified device to make the signatures invisible for libblkid. wipefs does not erase the filesystem itself nor any other data from the device
wipefs also removes the partition table of a drive:
ck@mintp:~# sudo wipefs -a /dev/sdd
/dev/sdd: 8 bytes were erased at offset 0x00000200 (gpt): 45 46 49 20 50 41 52 54
/dev/sdd: 8 bytes were erased at offset 0x2baa1475e00 (gpt): 45 46 49 20 50 41 52 54
/dev/sdd: 2 bytes were erased at offset 0x000001fe (PMBR): 55 aa
/dev/sdd: calling ioctl to re-read partition table: Success
ck@mintp:~# sudo fdisk -l /dev/sdd
Disk /dev/sdd: 2.75 TiB, 3000592982016 bytes, 5860533168 sectors
Disk model: DT01ACA300
Units: sectors of 1 * 512 = 512 bytes
Sector size (logical/physical): 512 bytes / 512 bytes
I/O size (minimum/optimal): 512 bytes / 512 bytes
Removing the RAID information from the drive is not enough - the drive still contains partitions and the data itself. There are a couple of methods which can be used to completely wipe the data off the drive. dd would be a command which would do the job. Another command I recently came across is shred.
shred not only works on mounted file systems, it also works directly on drives:
ck@mintp ~ $ sudo shred -vfz /dev/sdd
shred: /dev/sdd: pass 1/4 (random)...
shred: /dev/sdd: pass 1/4 (random)...623MiB/2.8TiB 0%
shred: /dev/sdd: pass 1/4 (random)...1.3GiB/2.8TiB 0%
shred: /dev/sdd: pass 1/4 (random)...2.1GiB/2.8TiB 0%
shred: /dev/sdd: pass 1/4 (random)...2.8GiB/2.8TiB 0%
[...]
Depending on the drive's size (here a 3TB drive), properly erasing the data will take some time... (so would it with dd).
No comments yet.

AI AWS Android Ansible Apache Apple Atlassian BSD Backup Bash Bluecoat CMS Chef Cloud Coding Consul Containers CouchDB DB DNS Databases Docker ELK Elasticsearch Filebeat FreeBSD Galera Git GlusterFS Grafana Graphics HAProxy HTML Hacks Hardware Icinga Influx Internet Java KVM Kibana Kodi Kubernetes LVM LXC Linux Logstash Mac Macintosh Mail MariaDB Minio MongoDB Monitoring Multimedia MySQL NFS Nagios Network Nginx OSSEC OTRS Observability Office OpenSearch PHP Perl Personal PostgreSQL PowerDNS Proxmox Proxy Python Rancher Rant Redis Roundcube SSL Samba Seafile Security Shell SmartOS Solaris Surveillance Systemd TLS Tomcat Ubuntu Unix VMware Varnish Virtualization Windows Wireless Wordpress Wyse ZFS Znuny Zoneminder